How to Patch Stucco
Follow this easy fix for stucco holes and cracks before they become major headaches.

-
How to Patch Stucco Step-by-Step
How to Patch Stucco Step-by-Step
Tools
- Stiff-bristled brush
- Trowel (optional)
- Putty knife
- Rubber float
- Paint brush
Stucco’s durability, long life and striking appearance make it an appealing finish for homes. Compared to other siding materials, it typically doesn’t require a lot of maintenance. But cracks and holes do occasionally appear. And when that happens, it’s important to seal them. If left open, water can find its way in, leading to larger and more burdensome problems. Use one of these two methods for how to repair stucco holes and preserve your home’s attractive finish.
Small Holes and Cracks
Step 1: Clean the Surface
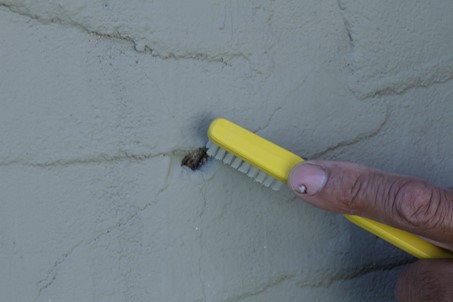
Use a stiff-bristled brush to clean out any loose material in and around the hole or small crack being patched.
Step 2: Apply a Patching Material
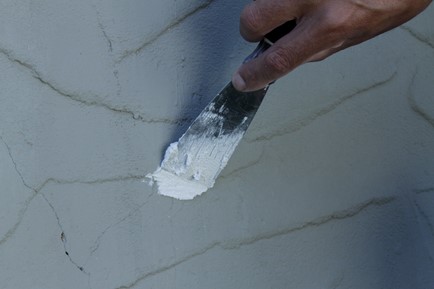
Using a putty knife or trowel, apply DAP All-Purpose Stucco Patch. It’s ready-to-use, eliminating the need for messy mixing. It can be used to fill holes as wide as your palm and up to ½ inch deep. For patches more than ¼ inch deep, apply two or more layers of the patching material, allowing each layer to dry before applying the next.
Step 3: Smooth the Patching Material
Use a rubber float to smooth the patch and blend with the existing stucco surface. For best results, wet the float first. DAP All-Purpose Stucco Patch dries in 72 hours, depending on application conditions and thickness of application.

Bonus Tip: If the stucco has a textured finish, try these tricks for texturizing the patched area while it’s still wet:
- Use an old paint brush or stiff-bristled brush to stipple the patching material and create a texture.
- Or, put a small amount of sand on a small, rigid piece of cardboard. Hold it up to the patched area and blow the sand onto the patch. The sand will stick to the patching material, creating a texture.
Step 4: Prime the Patched Area
When the patch is dry, brush on Zinsser Bulls Eye 1-2-3 Primer before painting, to seal the patch and provide an even base coat for the paint to cover. Let it dry and paint.
Large Recurring Cracks
Step 1: Clean the Surface
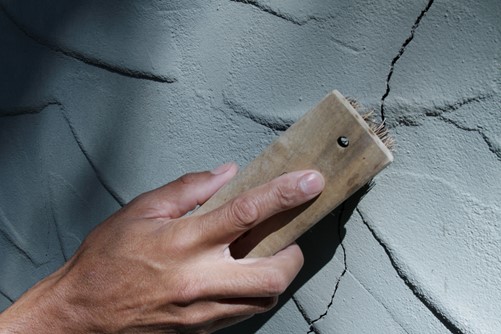
Use a stiff-bristled brush to clean out any loose material in and around the crack.
Step 2: Fill the Cracks
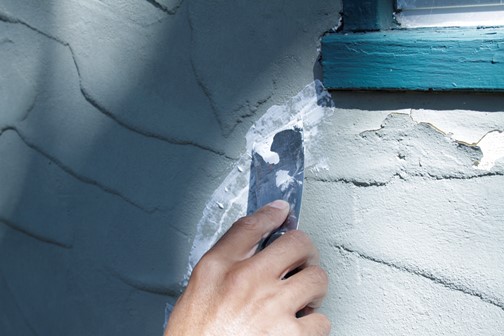
Use DAP Elastopatch Pro-Grade Elastomeric Patching Compound to fill reoccurring gaps and/or cracks up to ¼ inch wide x ½ inch deep. Available in smooth and textured finishes, it provides a permanently flexible fill that won’t crack, crumble or fall out as the surface expands and contracts over time. For deeper gaps, apply it in multiple layers, letting it dry between applications.
Step 3: Tool the Surface
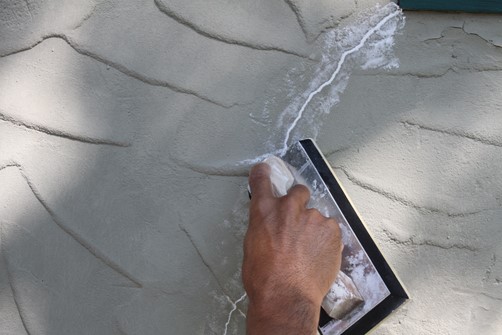
Before the patching compound dries, tool the patched area to achieve the desired finish (ElastoPatch is not sandable). For smooth textures, use a putty knife. To achieve a rough texture, tool with a rubber float and for a very rough surface, use a stiff-bristled brush.
Step 4: Prime the Patch
When the patching compound is dry (allow at least 24 hours), prime it with Zinsser Bulls Eye 1-2-3 Primer. Let it dry and paint.

-
Related Projects
Related Projects
![mouse shield]()
How to Pestproof Your Home
Take these steps to keep mice, spiders and insects out of your personal space.
Read More![]()
Choosing the Right Caulk or Sealant
Use this guide to help you find the right caulk or sealant for the most common home projects.
Read More![]()
Spackling 101
Learn to patch drywall and plaster like a pro with these spackling tips and tricks.
Read More

