How to DIY Laminate Countertops
Expand your wheelhouse of skills with these step-by-step instructions.

-
How to Laminate Countertops Step-by-Step
How to Laminate Countertops Step-by-Step
Tools
- Tin snips
- Table saw with carbide-tipped blade or carbide-tipped laminate cutting tool
- Short-nap roller
- Small paintbrush
- Plastic laminate file
- Gloves
- Eye protection
- Fan for ventilation
- Router
- Laminate trimming bit
- Scrap 2x4 and rag
- Caulk gun
- Caulk finishing tool
- Mineral spirits (for cleaning)
Materials
- DAP® Weldwood® The Original Contact Cement
- DAP® KWIK SEAL ULTRA Premium Siliconized Kitchen & Bath Sealant
- ½-inch wood dowels
- Plastic drop cloths
- Painter's tape
Whether your goal is to replace worn kitchen countertops or build a countertop bar, you can save a bundle if you do it yourself with laminate. The project requires just a moderate amount of skill. Using the right tools and products is critical. We’ve laid out all the steps below for a job you can be proud of.
NOTE: Instructions are for laminating a countertop and edges, with no seams. Use ¾-inch particleboard to build the base, or underlayment, for the laminate. The standard size for countertops is 36 inches high x 25 inches wide (when installed, it should extend 1 to 1½ inches beyond the face of the base cabinets and be high enough to allow drawers and cabinet doors ample room to open). Your countertop may vary from these standard dimensions. The exposed edges of the countertop should be 1½ inches tall. You can DIY countertops in a workshop or at the installation site.
Step 1: Rough-Cut the Laminate
Measure the laminate pieces so they’re 1 inch larger overall than needed. Use a straightedge to mark your cutting lines. First, cut the small strips of laminate for the edges using tin snips, allowing for some excess. For the large countertop piece, use a table saw and a carbide-tipped blade with 80 teeth or a carbide-tipped laminate cutting tool.
Step 2: Start with End Pieces
Make sure the underlayment and edges are free of debris and dust. You’ll use contact cement to attach the laminate, like DAP Weldwood Original Contact Cement. Protect surrounding areas with plastic sheets, provide proper ventilation and wear eye protection. Apply contact cement to the laminate strips for the ends and the end edges of the underlayment (keep them separated), using a small paintbrush. Wait 5-10 minutes. Wearing gloves, lightly touch the contact cement to check if it’s ready. You’ll know it is if it’s tacky but doesn’t leave residue on your gloves. Press the end strips in place. To ensure good adhesion, tap the edges with a scrap piece of wood.
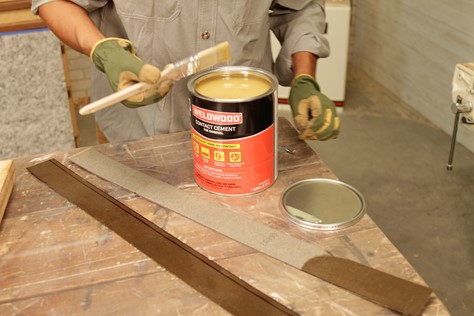
Step 3: Trim Excess from the End Pieces
When the contact cement is dry, trim the excess laminate from the top and bottom of the end strips with a router and a laminate flush trimming bit (do a test run on some scrap laminate to get a feel for how the router and bit cut). Then attach the laminate strip to the front edge with contact cement, and trim.

Step 4: Apply Contact Cement to the Top and Laminate
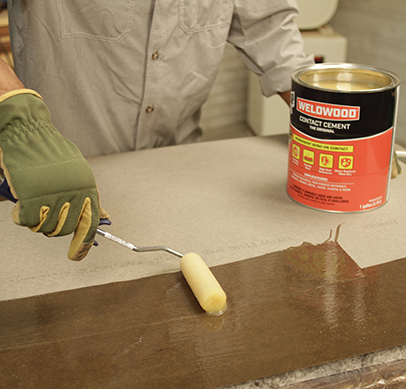
Using a short-nap roller or paintbrush, apply contact cement to the back of the laminate sheet for the countertop surface and the top of the underlayment (keep them separated). Wait 5-10 minutes. Wearing gloves, lightly touch the contact cement to check if it’s ready. You’ll know it is if it’s tacky but doesn’t leave residue on your gloves.
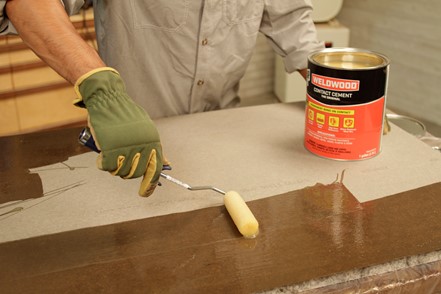
Step 5: Position the Laminate
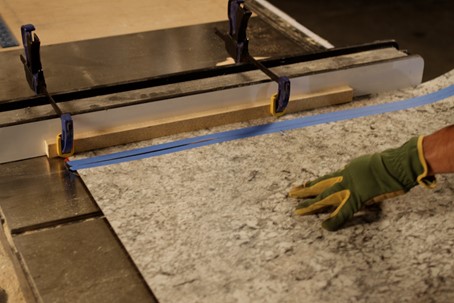
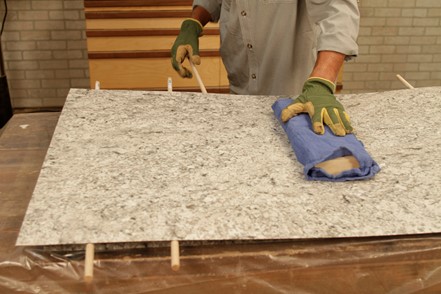
Once the laminate makes contact with the underlayment, you won’t be able to move it. So you need to position it accurately. To help, place ½-inch wood dowels every 6 to 12 inches on the countertop. These will keep the laminate from touching the surface while you position it. Set the laminate on the dowels so the back edge of it is flush with the back of the underlayment, and the front and sides of the laminate overlap the front and side edges of the underlayment.

Step 6: Remove the Dowels
Starting with the middle one, remove the dowels one at a time, letting the laminate touch the surface. Gently press it in place as you work.
Step 7: Apply Pressure
Use a scrap 2x4 wrapped in a rag to press down the laminate. Work from the center out to the edges. Don’t press too hard at the edges, to avoid breaking the excess laminate.
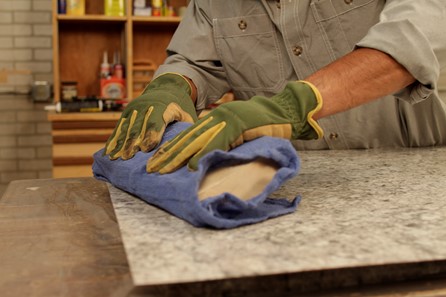
Step 8: Trim Excess Laminate
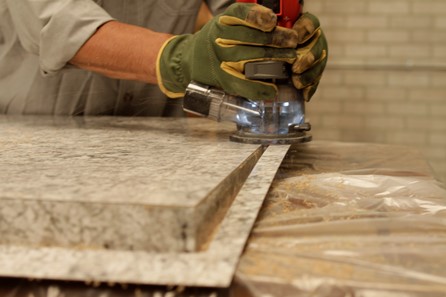
After the contact cement has dried, use a router with a laminate flush trimming bit to trim off the excess laminate at the edges. Use tin snips to cut any excess where the router can’t reach.
Step 9: Smooth the Edges
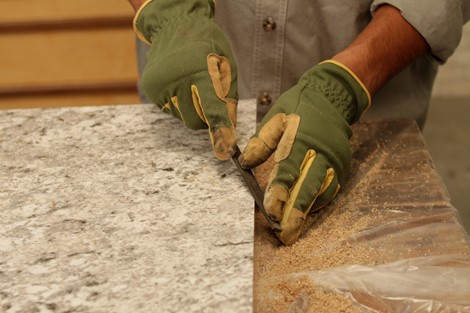
Use a plastic laminate file to gently bevel and remove any roughness from the exposed edges of the laminate. Pull the file downward only, to avoid damaging the laminate. Remove any excess contact cement with mineral spirits.
Step 10: Install the Countertop and Seal Joints
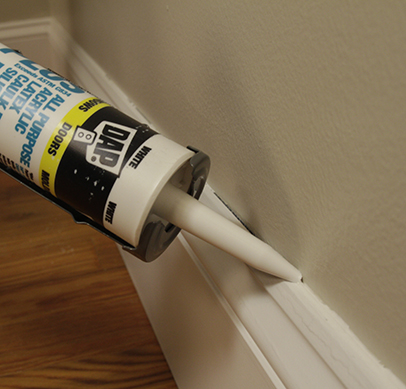
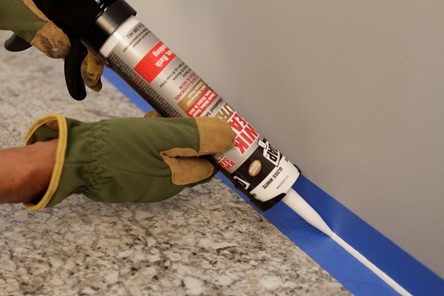
Attach the countertop to the base cabinets with screws. Seal the joint between the countertop and the wall or backsplash with DAP Kwik Seal Ultra Premium Siliconized Kitchen & Bath Sealant. Use painter’s tape on the counter and the wall to help you create an even joint. Cut the nozzle of the sealant at a 45-degree angle, insert the cartridge into a caulk gun and apply the sealant along the joint. Using a caulk finishing tool or your gloved finger, immediately smooth the bead of sealant. Then remove the painter’s tape. DAP Kwik Seal Ultra repels water, dirt and stains, and has a lifetime mold- and mildew-resistance guarantee, so the sealant stays looking clean, fresh and new for years. Plus it’s 100% waterproof, and can be exposed to water in just four hours after application.
-
Recommended Products
Product Recommendations
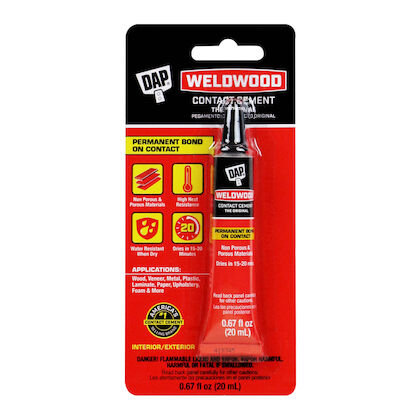
DAP Original Contact Neoprene Adhesive
Original Contact Neoprene is a multi-purpose rubber adhesive for instant, high-strength bonds. Ideal for home, office, and workshop use.
View Product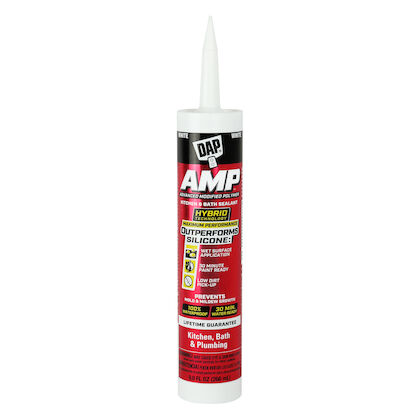
DAP AMP Kitchen & Bath Sealant
AMP Kitchen & Bath Sealant ensures a 100% waterproof seal, applying smoothly on wet surfaces, drying in just 30 minutes, and fortified to resist mold and mildew, backed by a lifetime guarantee, perfect for interior applications.
View Product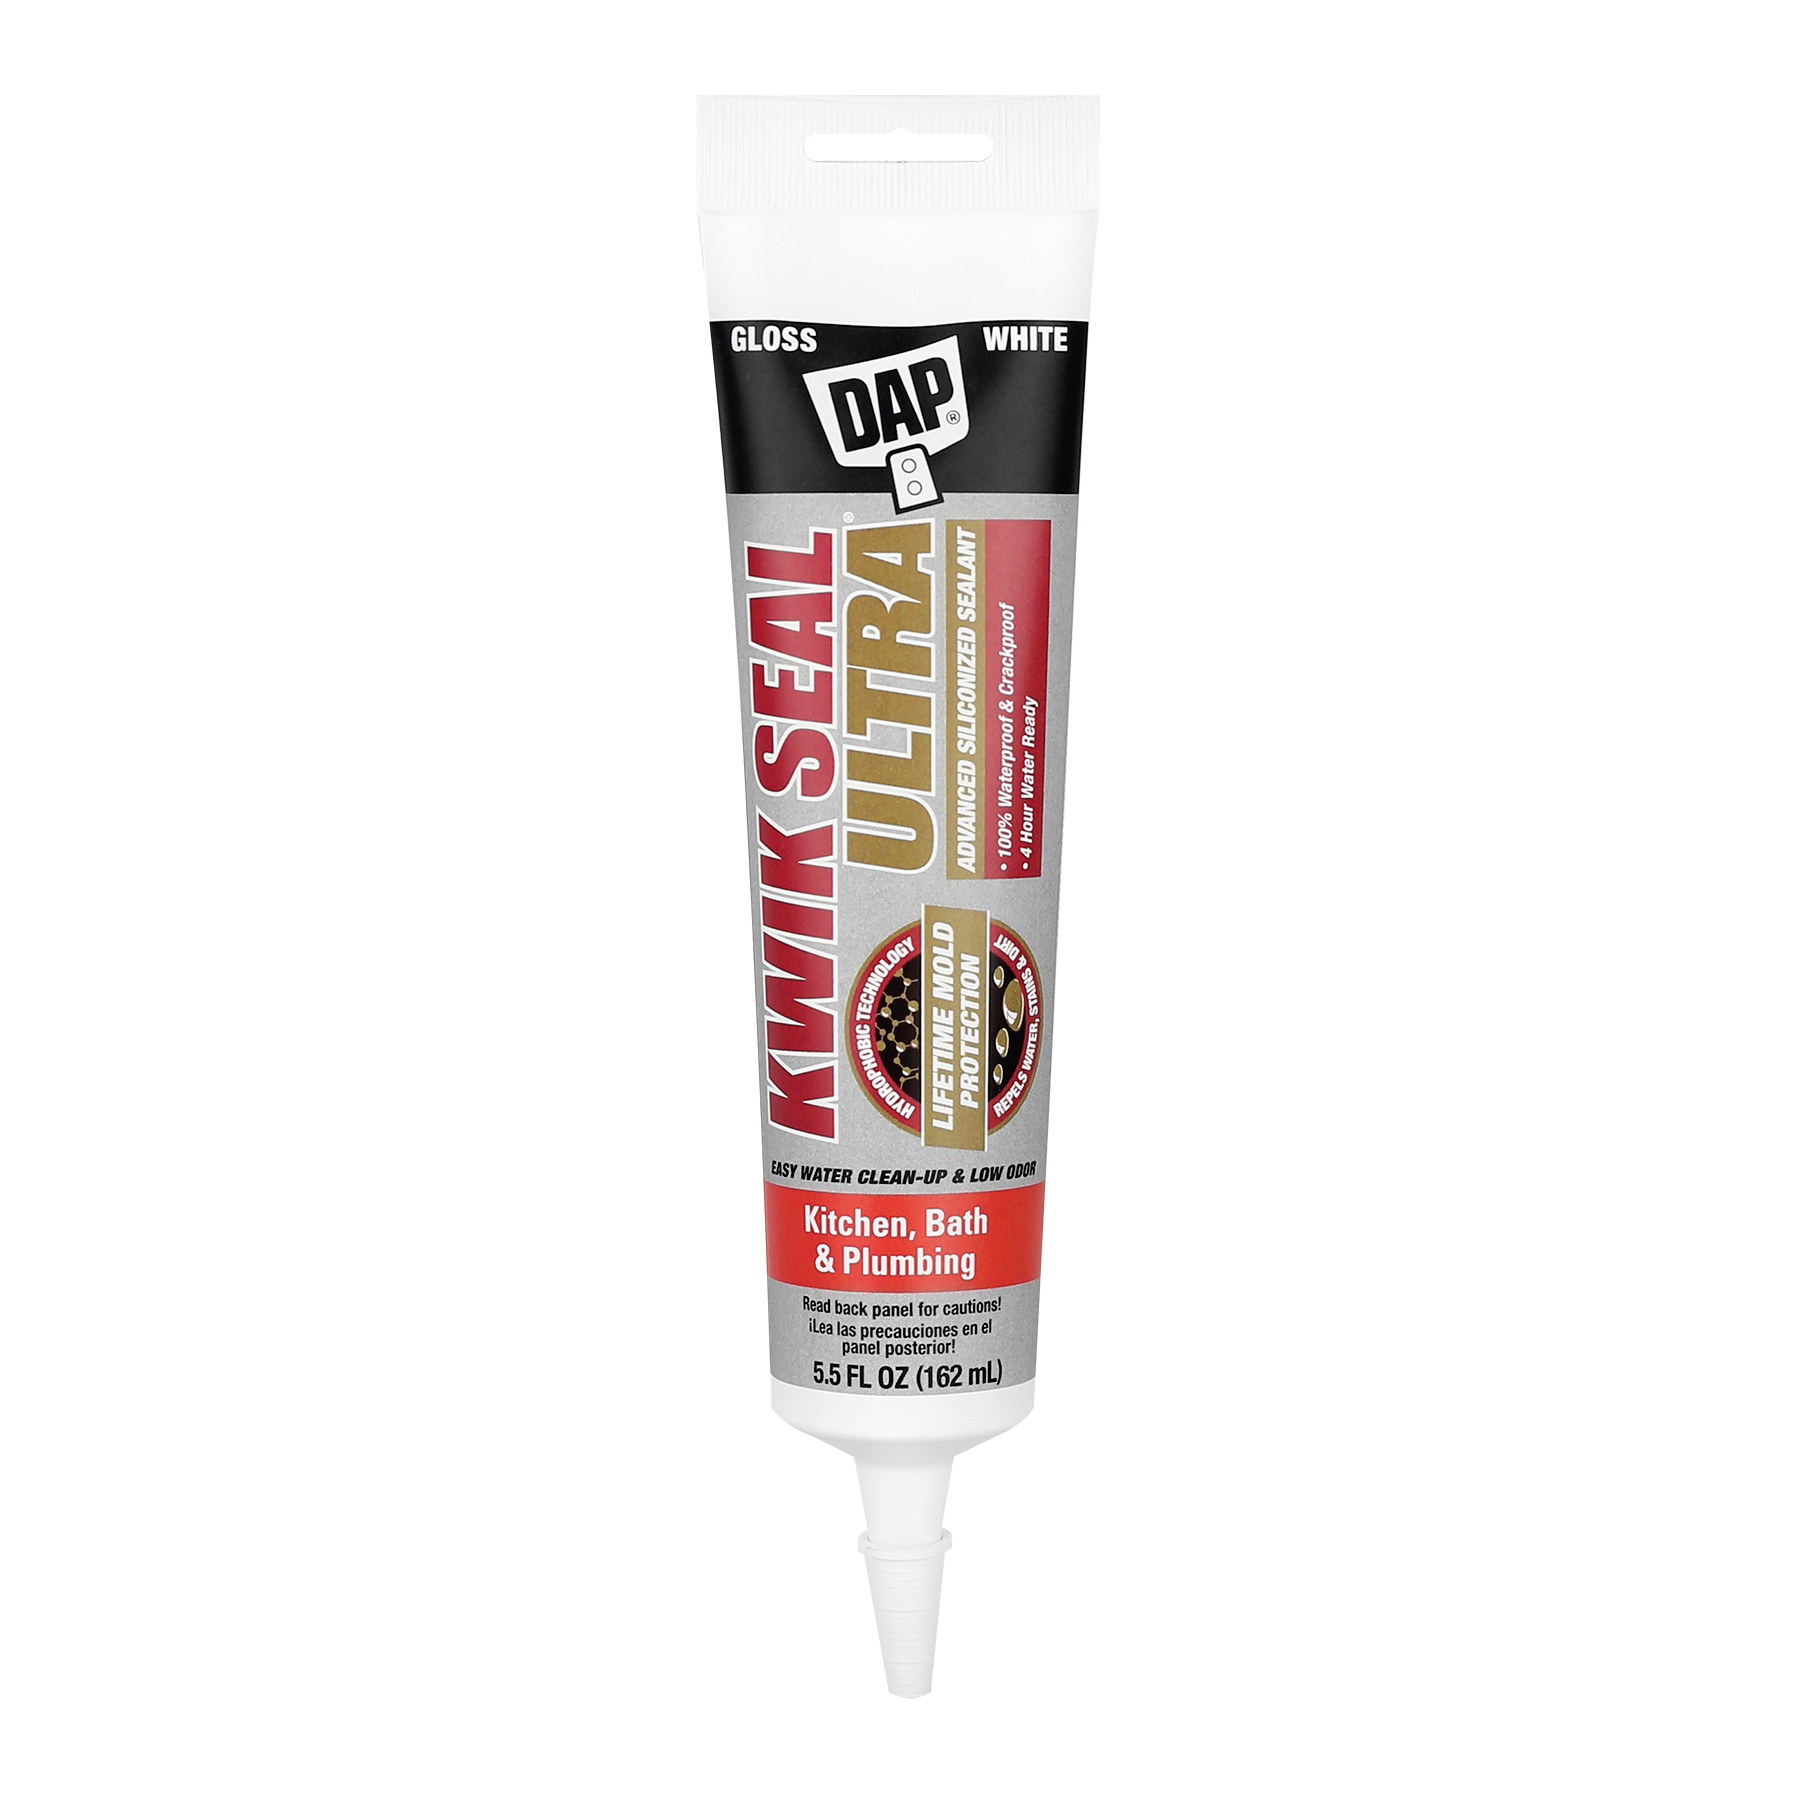
Kwik Seal Ultra Advanced Kitchen & Bath Sealant
Advanced kitchen & bath sealant with ultra-hydrophobic tech. Lifetime mold resistance, 100% waterproof, safe for granite. Easy application & cleanup.
View Product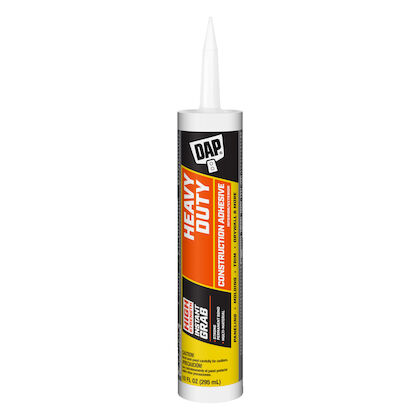
DAP Heavy Duty Construction Adhesive
DAP HEAVY DUTY construction adhesive is a premium high strength adhesive for heavy interior/exterior construction and remodeling projects.
View Product -
Related Projects
Related Projects
![]()
How to Upcycle Furniture
This easy furniture hack takes an ordinary kitchen island and transforms it into a versatile piece with a rustic feel.
Read More![]()
How to Tile a Kitchen Backsplash
Follow these 12 key tiling tips and give your kitchen a professional-quality upgrade.
Read More![]()
Choosing the Right Caulk or Sealant
Use this guide to help you find the right caulk or sealant for the most common home projects.
Read More![]()
How to Prevent Loose Screws
Here’s a new way to keep screws from coming loose, without gluing them.
Read More

 USA - EN
 Canada - EN