How to Tile a Kitchen Backsplash
Follow these 12 key tiling tips and give your kitchen a professional-quality upgrade.

-
Tips for Tiling a Kitchen Backsplash
Tips for Tiling a Kitchen Backsplash
Tools
- Bucket
- Sponge
- Tape Measure
- Level
- Drill
- Wet saw
- Notched trowel
- Towels
- Float
- Lint-free cloths
- Screwdriver
- Caulk gun
- Painter's tape
- Kraft paper
Materials
- DAP® DYNAGRIP® Mirror-Marble-Granite Construction Adhesive
- DAP® KWIK SEAL ULTRA® Premium Siliconized Kitchen & Bath Sealant
- Krud Kutter® Cleaner/Degreaser
- Miracle Sealants® 511 Impregnator
- Tile
- Grout
- Mastic
- Outlet extenders
- Spacers
Install a tile backsplash and you’ll win a triple payoff: Your kitchen gets an attractive upgrade, you get a break from cleaning and you learn some terrific skills. These tips take you through the critical steps for installing a subway tile backsplash. It requires a few special tools, but don’t let that intimidate you. With patience, planning and practice, you can complete the project in a weekend or two.
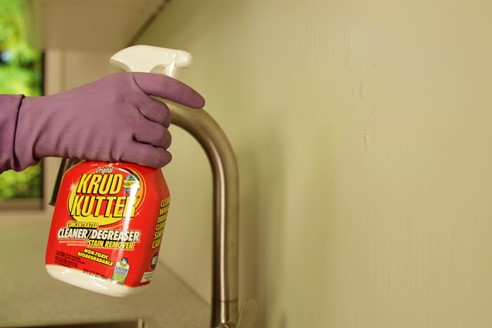
Tip 1: Degrease the Wall
Remove dirt and grease from the wall with a degreaser like Krud Kutter Cleaner/Degreaser. Spray it on and wipe it off with a clean, lint-free cloth. Then use clean water and a sponge to rinse off the wall.
Tip 2: Support the Tile
Most of the tile will be supported by the counter top. But wherever there isn’t a counter top, like behind a stove, install a ledger board. Typically, a strip of ¾-inch plywood works well to span from cabinet to cabinet and support the tile. You’ll run the tile down to the top of the ledger board. It should be situated 6 inches or more below the counter top so it’s not visible when the stove is in place. And if possible, plan its location so you can run full tiles down to it, to avoid having to cut them. Make sure the ledger board is level and attach it with screws.
Tip 3: Protect Surrounding Surfaces
Use painter’s tape to mask off the counter tops and any upper cabinets that will have tile installed alongside them. Leave a ¼-inch gap between the wall and the tape for the tile.

Tip 4: Plan the Layout
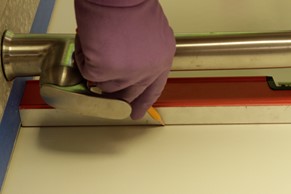
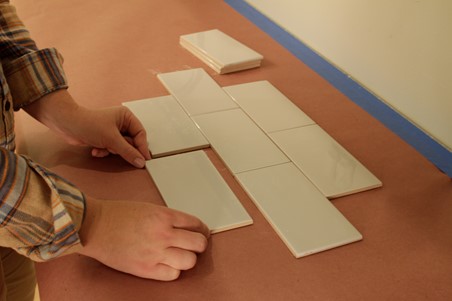
Do a trial layout of the tile on the countertop. This step is critical and, as in other projects, you may spend more time planning than actually doing the work. The goal is to create a balanced appearance of the tiles. Plan where cuts will occur, minimizing how many you have to make and avoiding small slivers of tile at any corners or edges. A logical starting point is at a highly visible place on the wall, and that’s often above the stove. Draw a centerline there (use a level to mark a vertical line that’s halfway between the cabinets above or next to the stove) and lay out the tiles starting at that point.
Tip 5: Use Sheet and Bullnose Tiles
If you’re installing smaller tiles, buy them in sheets (tiles are attached to netting) rather than individual tiles. The tiles are evenly spaced on the sheet, making it easier to keep them aligned as you place them on a wall. And for the best appearance, use bullnose tiles (one edge of the tile is slightly rounded and finished) at outside corners or where there isn’t a cabinet or some other natural place for the tiles to terminate.

Tip 6: Rent a Wet Saw
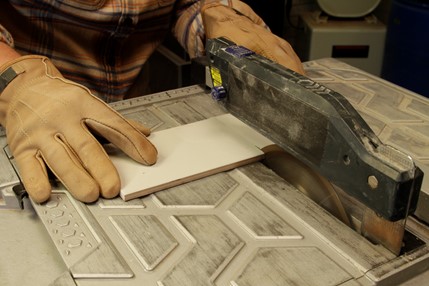
Small tiles can be cut with a tile nipper. But other ones, like subway tiles, should be cut with a wet saw, which you can rent. It’s an electric saw that sprays water over the tile while you’re cutting it, which keeps the blade cool and minimizes dust. It cuts slowly and effectively, with a clean result.
Tip 7: Start at the Centerline
Read the manufacturer’s instructions for the mastic (a type of adhesive). Typically, the process for applying it is to use a 3/16-inch notched trowel (for tiles larger than 6 inches, use a ¼-inch trowel) and spread a thin layer of mastic on the wall, starting at the centerline and top of the ledger board. Spread just enough mastic for two or three sheets (or a few large tiles) so it doesn’t dry before you set the tile. Then hold the trowel at a 45-degree angle and pull it across the mastic to create some grooves. Wipe off the trowel with a sponge and water to keep it clean as you work. Place the first sheet or tile on the mastic, aligning it to the ledger board and centerline. Install the rest of the tiles from there.

BONUS TIP: For small pieces, such as around outlets, you may need to apply an adhesive to the back of the tile. Dynagrip Mirror-Marble-Granite Construction Adhesive is a high-strength adhesive that provides a permanent vertical hold in 1 hour. Use a caulk gun to apply it.
Tip 8: Prep the Tile for Grouting
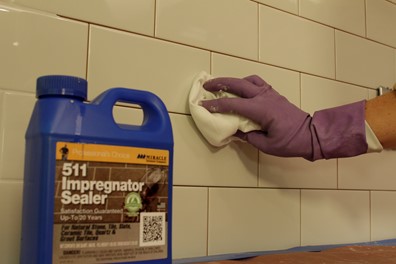
Grout can stain some tiles and leave a hard-to-remove haze. Use Miracle Sealants 511 Impregnator to make cleanup easier and faster. It’s a solvent silicone-based sealer that resists moisture and stains, but can be used as a grout release. When completely dry, it will be invisible and will not alter the look of your tile or stone. Apply it to the top of the surface with a clean towel, wetting it but not saturating the open grout joints (i.e., the sides). Let it stand for 3 to 5 minutes. Remove any excess by buffing the tile with a clean, lint-free cloth.
Tip 9: Grout Like a Pro
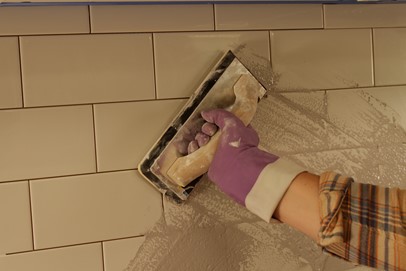
For best appearances, choose a grout color that closely matches the tile. A high-contrast color calls attention to every flaw, from tile edges to uneven grout lines. Choose either a grout that you mix with water or a pre-mixed grout, which requires no mixing. Work it into the gaps between the tiles with a float. Periodically wipe the surface with a lightly damp grout sponge. Then gently wipe each joint with the sponge, putting a little pressure on the joint. Keep rinsing the sponge in a bucket of water so it stays clean (don’t rinse the sponge in your sink; the grout has particles that could damage the sink or clog the plumbing).
Tip 10: Seal the Surface
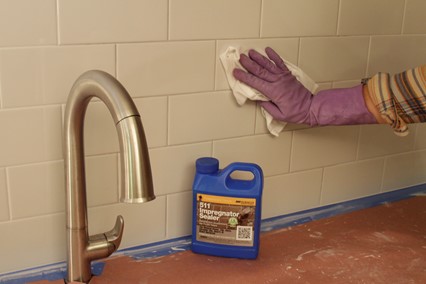
After the grout has cured (follow manufacturer’s instructions for how long this takes), you may need to seal it, depending on the type of grout you use. Apply Miracle Sealants 511 Impregnator with a lint-free cloth or applicator pad to both tile and grout, let it sit for 3 to 5 minutes to penetrate, then wipe off any excess on the tile and grout with a lint-free cloth.
Tip 11: Install Outlet Extenders
Building code requires that outlets be installed flush with the wall surface. When you add a tile backsplash, outlets will no longer be flush with the wall surface, so you’ll need to install outlet extenders. They’re basically inserts for the outlet box that allow you to bring outlets forward and secure them. To install an extender, turn off power to the outlet (double-check to make sure it’s off), remove the cover and insert the extender into the outlet box. Using the screws provided with the extender, tighten it so the outlet is flush with the tile.

Tip 12: Seal the Joints
To keep out water and give a nice finished look to a backsplash, apply a bead of sealant where the tile meets the countertop. Kwik Seal Ultra Premium Siliconized Kitchen & Bath Sealant is the perfect choice with its easy-clean technology that repels water, dirt and stains. Plus, it has a lifetime mold- and mildew-resistance guarantee so the sealant stays looking clean, fresh and new for years.

-
Recommended Products
Product Recommendations
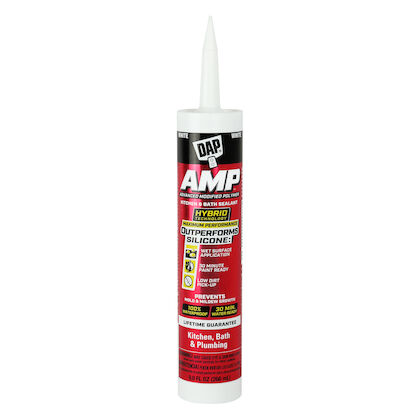
DAP AMP Kitchen & Bath Sealant
AMP Kitchen & Bath Sealant ensures a 100% waterproof seal, applying smoothly on wet surfaces, drying in just 30 minutes, and fortified to resist mold and mildew, backed by a lifetime guarantee, perfect for interior applications.
View Product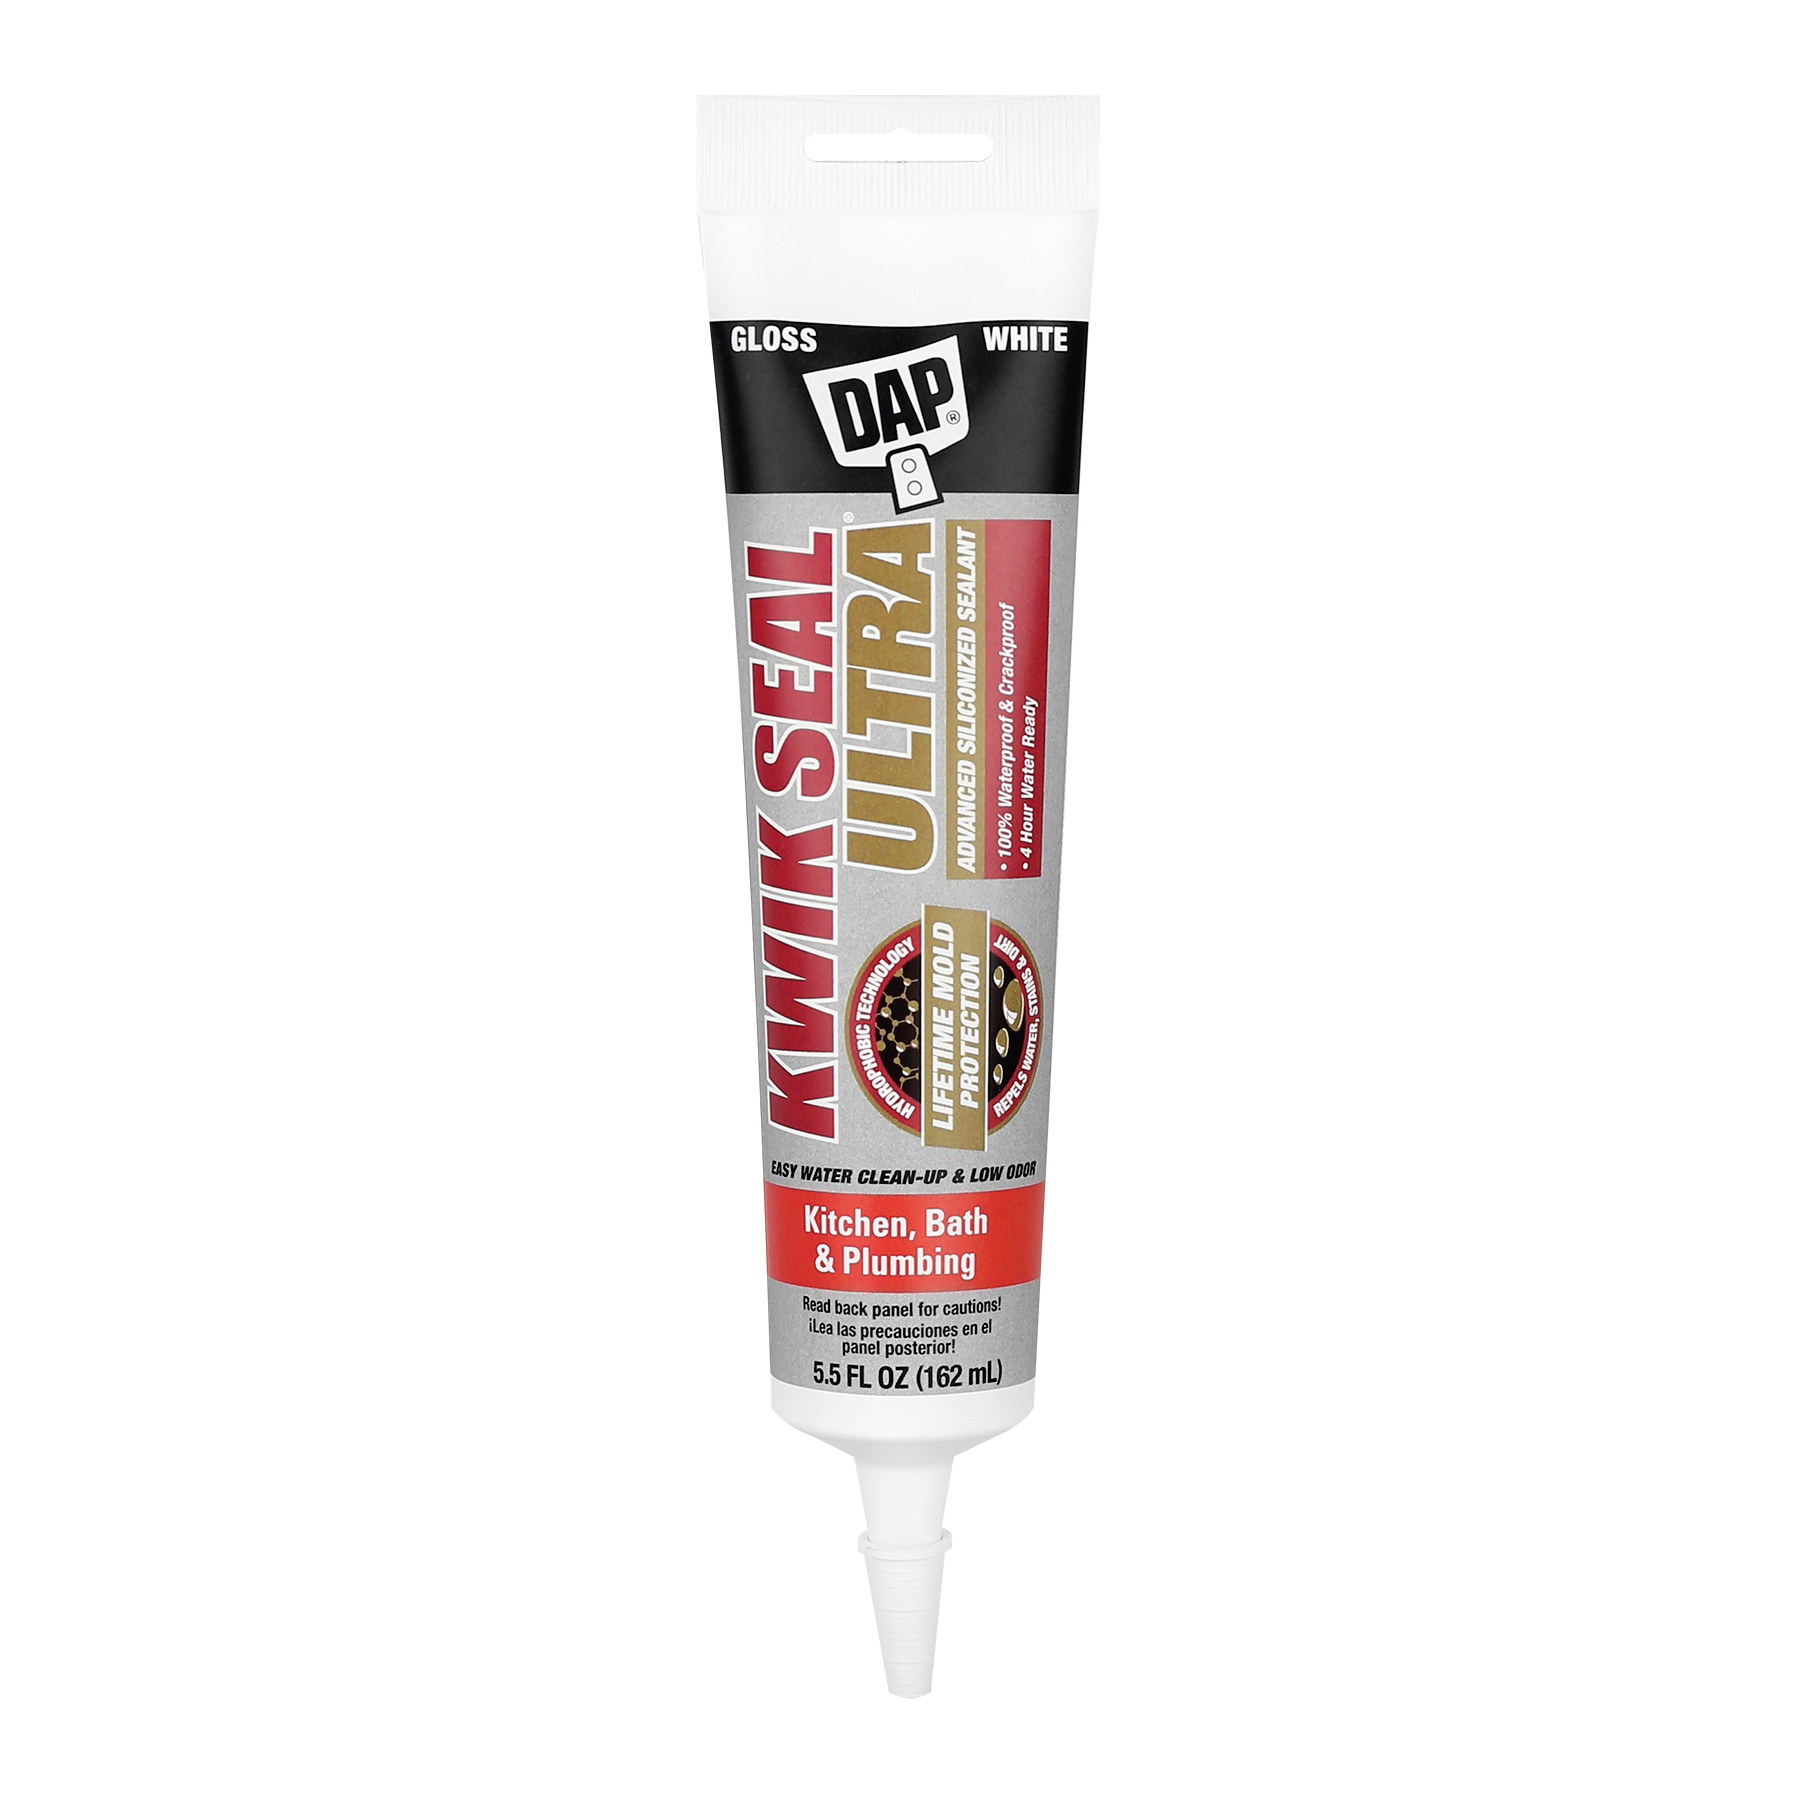
Kwik Seal Ultra Advanced Kitchen & Bath Sealant
Advanced kitchen & bath sealant with ultra-hydrophobic tech. Lifetime mold resistance, 100% waterproof, safe for granite. Easy application & cleanup.
View Product
DAP Heavy Duty Construction Adhesive
DAP HEAVY DUTY construction adhesive is a premium high strength adhesive for heavy interior/exterior construction and remodeling projects.
View Product -
Related Projects
Related Projects
![]()
Choosing the Right Caulk or Sealant
Use this guide to help you find the right caulk or sealant for the most common home projects.
Read More![]()
How to Caulk Like the Pros
Hone your caulking skills with these 8 tips for indoor and outdoor projects.
Read More![]()
How to DIY Laminate Countertops
Expand your wheelhouse of skills with these step-by-step instructions.
Read More![]()
How to Upcycle Furniture
This easy furniture hack takes an ordinary kitchen island and transforms it into a versatile piece with a rustic feel.
Read More

