How to Paint a Room Like the Pros
Follow these interior painting tips and tricks to give every room of your home that expert finish.

-
How to Paint a Wall Step-by-Step
How to Paint a Wall Step-by-Step
Tools
- Bucket
- Sponge
- Flashlight or worklight
- Pencil
- Screwdriver or putty knife
- Paint roller
Materials
- DAP® ALEX PLUS® Spackling
- DAP® ALEX FLEX® Premium Molding & Trim Sealant
- Original Krud Kutter® Cleaner & Degreaser (32 oz.)
- Zinsser® Bulls Eye 1-2-3® Primer
- Warm water
- Painter’s tape
Step 1: Wash Off Grime
Some walls are grease and fingerprint magnets simply because of their location—kitchens and high-traffic hallways, for example. Wash these areas with a sponge and warm water before painting; otherwise, the paint won’t adhere properly.
- Glossy surfaces, like trim
- Kitchen walls, where grease accumulates
- Bathroom walls, where hair and other sprays are used
- Walls that pets brush against (their fur can leave oily residue)
- Walls with fingerprints or other grime
- Walls in rooms where people have smoked
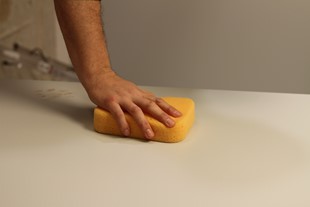
BONUS TIP: For surfaces that are particularly grimy, spray with Original Krud Kutter Cleaner & Degreaser and wipe off with a clean cloth.
Step 2: Search for Flaws
To find trouble spots that need repair, shine some light on the situation. Hold a flashlight or worklight to the wall and let the light rake over it. You’ll easily see dents, dings or other imperfections.
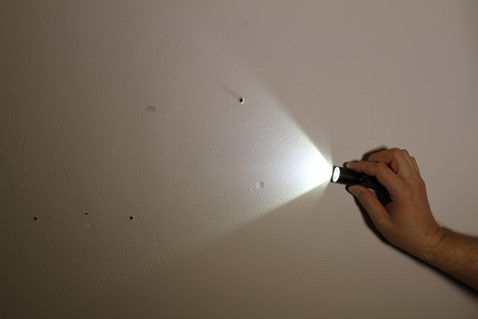
BONUS TIP: Use a pencil to lightly circle flaws revealed by the light or mark them with tape, so you can locate them again easily.
Step 3: Deal with Cracks and Gaps
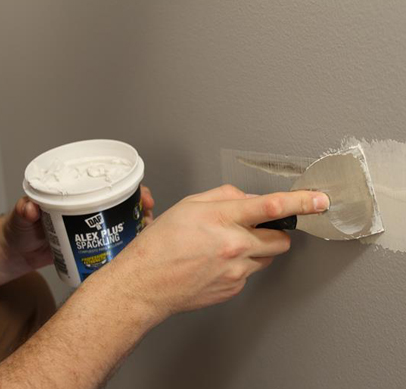
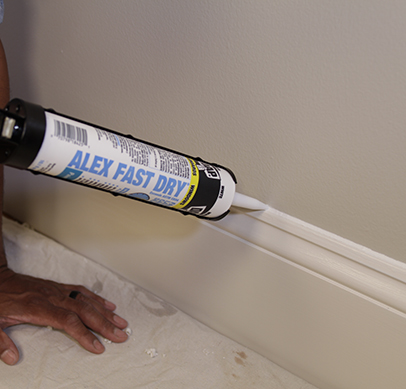
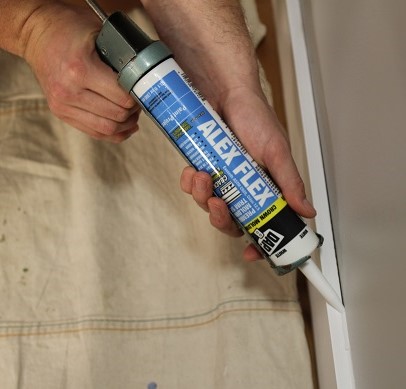
Use spackling to fill cracks in drywall. For stable cracks, use DAP Alex Plus Spackling. It will dry in one to five hours. For cracks in inside corners and gaps where wood trim meets drywall and where wood trim meets wood trim, use a latex caulk such as DAP Alex Flex Premium Molding & Trim Sealant.
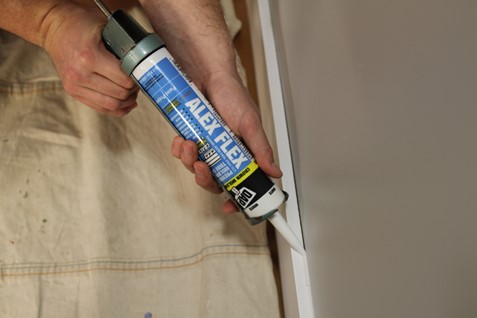
BONUS TIP: For a more finished appearance, caulk all inside corners with a thin bead (1/8” minimum). Avoid applying thick beads; it makes corners look less defined and isn’t as attractive.
Step 4: Smooth, Then Patch
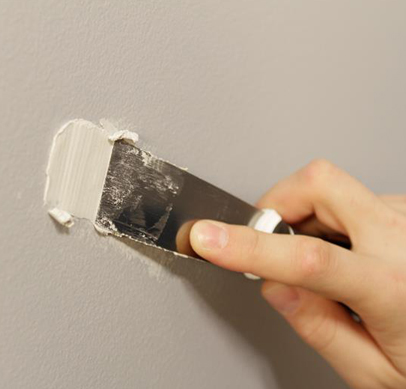
Before patching small or larger holes in drywall with spackling, use sandpaper to smooth out any rough drywall surfaces. This will eliminate any pieces of drywall that may be protruding and give you a better surface for the spackling.
For larger holes in drywall, use DAP Alex Plus Spackling, a professional-grade spackling compound. It spreads easily and dries quickly but has a long working time. It accepts paint like any other porous surface but doesn’t flash or gloss low-sheen paint. Most jobs require just a single coat.
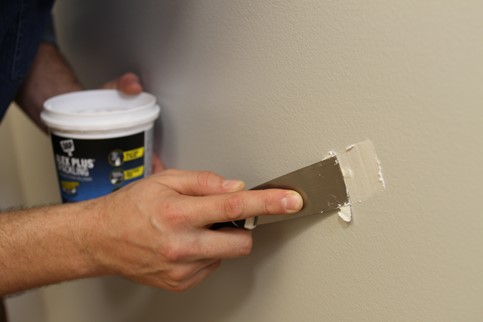
BONUS TIPS:
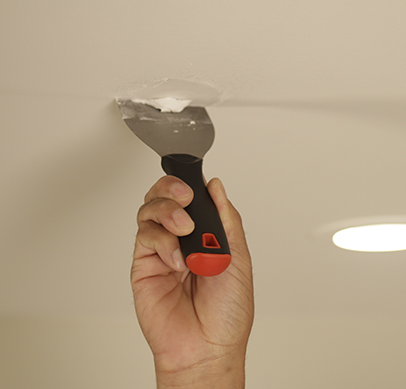
When applying spackling, hold the putty knife at a low angle. This will help you create a smoother surface with the compound and allow you to feather it out at the edges.
For a smoother finish, dip the putty knife in water and smooth the spackling over the repair.
Step 5: Take Time to Prime
While not normally required, priming certain surfaces may be recommended or required by your paint manufacturer. If you take this step, be sure you apply a stain-blocking primer to any patched or repaired areas after they’ve been sanded, as well as any places that have marks or discoloration. The primer will seal spackling and hide stains and marks.
Zinsser Bulls Eye 1-2-3 Primer, a premium low-odor, water-based primer-sealer, does a lot of jobs. It covers stains and marks, seals, and provides a smooth surface for paint. Mold and mildew resistant, it dries quickly so you can start painting in one hour.
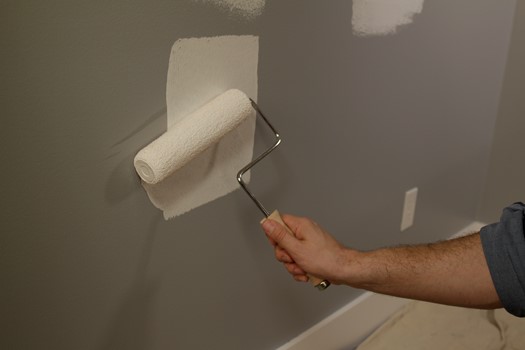
BONUS TIP: Use matching roller naps for your primer and paint. That way the texture of the primer will be consistent with the texture of the paint.
Step 6: Paint in Proper Order
The secret to how to paint a room: Tackle the trim first, then the ceiling, then the walls. Why? It’s easier and faster to tape off the trim than it is to tape off the walls.
Following this order also means that when painting the trim, you don’t have to be neat. Just concentrate on getting a smooth finish on the wood. Any trim paint that accidentally gets onto the walls will be covered later when you’re painting the walls. Once the trim is completely painted and dry (at least 24 hours), tape it off using an “easy release” painter’s tape. Then paint the ceiling and, finally, the walls.
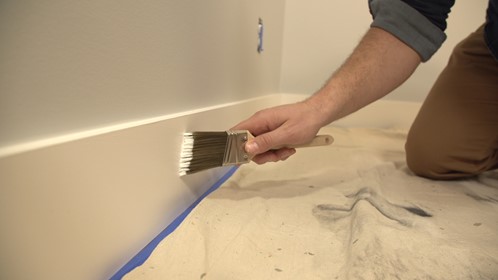
BONUS TIP: Before removing the tape from the trim, let the paint dry at least 24 hours. Then use a sharp utility knife or box cutter to slice through the film where it meets the wall. Start in an inconspicuous area to make sure the paint is hard enough to slice cleanly. As you cut the paint, pull up the tape at a 45-degree angle. If tape is removed while the caulk, primer or paint is still wet, this is not necessary.
Step 7: Roll Like a Pro
Lap marks happen when you roll over paint that’s partly dry. (In warm, dry conditions, latex paint can begin to stiffen in less than a minute!) To avoid lap marks, roll the full height of the wall and keep a “wet edge.” The goal of the wet edge is for each stroke of your roller to overlap the previous stroke before the paint begins to dry.
To maintain a wet edge, paint an entire wall all at once. Start at one end, running the roller up and down the full height of the wall, moving over slightly with each stroke. Shift backward where necessary to even out thick spots or runs. Don’t let the roller become nearly dry; reload it often so that it’s always at least half loaded.
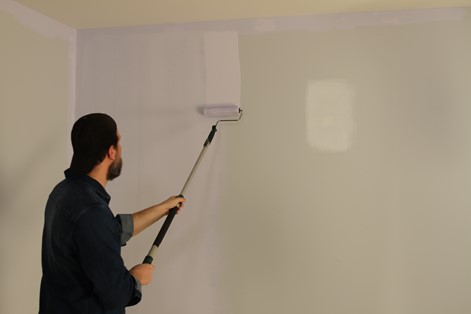
BONUS TIP: You’ll truly master how to paint a wall when you keep the open side of the roller frame facing the area that’s already painted. That puts less pressure on the open side, so you’re less likely to leave paint ridges.
-
Recommended Products
Recommended Products
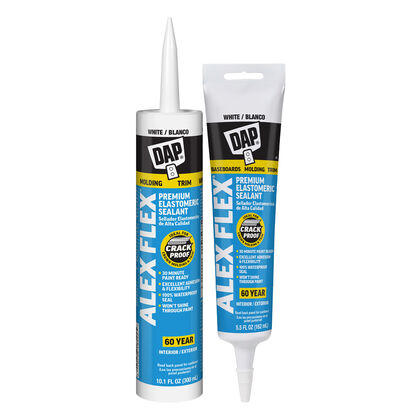
ALEX FLEX Premium Molding & Trim Acrylic Latex Siliconized Sealant
High-performance sealant specifically formulated for use on molding and trim applications.
View Product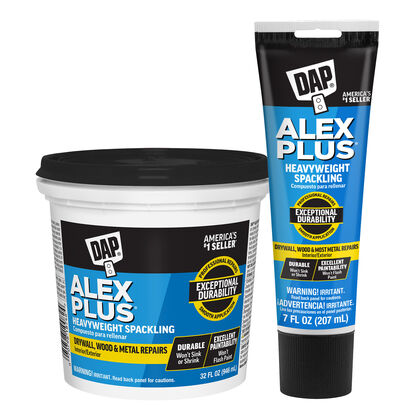
ALEX PLUS Spackling
ALEX PLUS Spackling provides unsurpassed performance for filling holes & cracks in surfaces such as drywall, plaster, wood, brick, metal, and stone.
View Product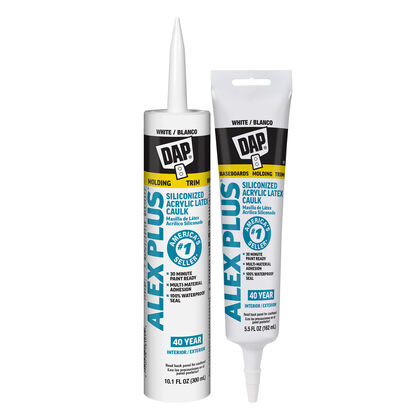
DAP Alex Plus All-Purpose Caulk
ALEX PLUS All-Purpose Caulk is a quality acrylic latex sealant for a flexible and waterproof seal. Paintable in 30 mins, mold/mildew resistant, 40-yr guarantee.
View Product -
Related Projects
Related Projects
![Step 5 Alex Plus Landingimage 406X389]()
How to Prepare Walls for Painting
Follow our plan on how to prepare interior walls for painting, and you’ll be rolling on that final coat in no time.
Read More![Patch Holes Step 3 Landingimage 406X389]()
How to Patch Drywall
Follow this expert advice on how to fix a hole in drywall—no matter the size.
Read More![]()
How to Paint a Ceiling
All you need are these five tips to get professional-looking results at home.
Read More![]()
How to Caulk Like the Pros
Hone your caulking skills with these 8 tips for indoor and outdoor projects.
Read More

 USA - EN
 Canada - EN