Spackling 101
Learn to patch drywall and plaster like a pro with these spackling tips and tricks.

-
Spackling 101 Step-by-Step
Spackling 101 Step-by-Step
Tools
- Putty knife
- Tack cloth, tack rag or sponge
- Medium-grit sanding sponge or sanding block
- Fine-grit sanding sponge or sanding block
It’s often said that painting a room is 90% preparation. Much of that prep work involves spackling compound, a paste used to fill imperfections and smooth surfaces. The goal is to achieve a wall or ceiling that looks perfectly painted. It all comes down to choosing the right spackling compound (there are different types for different issues) and applying it properly. We’ll help you master both.
Getting Started: Spackle vs. Joint Compound
Why choose spackling instead of joint compound (also called drywall compound)? They have different properties. Spackling compound dries faster than joint compound and shrinks less, making it ideal for patching small to medium-size holes and dents in drywall or plaster. The longer working time that joint compound provides is well suited for skim coating or covering larger wall areas such as taped joints of newly installed drywall.
Step 1: Choose the Type of Spackling
There are a few different types:
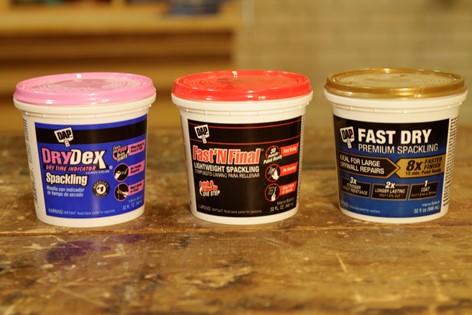
- Lightweight spackling, like DAP Fast ‘N Final Lightweight Spackling, has a light and fluffy consistency, allowing it to dry quickly. Because it does not sink or shrink, there’s no need for sanding and you can move right to painting. However, lightweight spackling should be used only for smaller nail-hole repairs and dents, and not for medium-size or large repairs.
- Heavyweight spackling, like DAP DryDex Dry Time Indicator Spackling, is a thicker, knife-grade consistency, which dries slower than lightweight spackling but provides the additional strength often needed for larger repairs. Because it has a longer dry time, heavyweight spackling shrinks slightly, making it ideal to overfill your repair a bit and sand smooth when dry.
- Hybrid spackling, like DAP Fast Dry Premium Spackling, contains the best properties of both lightweight and heavyweight spackling. It has the fast dry-time and low-shrinkage properties of lightweight spackling while giving you the strength and durability of heavyweight spackling. These qualities make hybrid spackling perfect for any repair— small or large—and allows you to complete even large repairs in record time.
Step 2: Prepare the Area
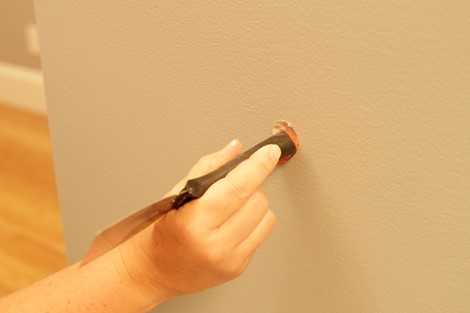
Remove any loose debris around the hole. If any fibers around the hole are sticking up, push them down toward the hole with the handle of a putty knife.
Step 3: Stir the Spackling
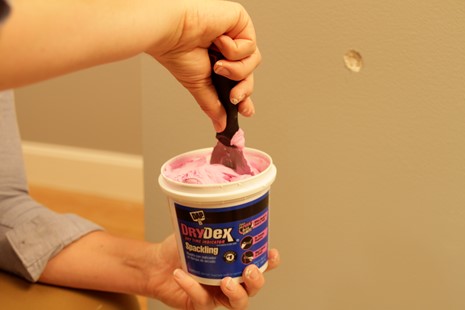
If the spackling looks dry when you open it, stir it with a small putty knife until it’s smooth and creamy.
Step 4: Fill the Hole
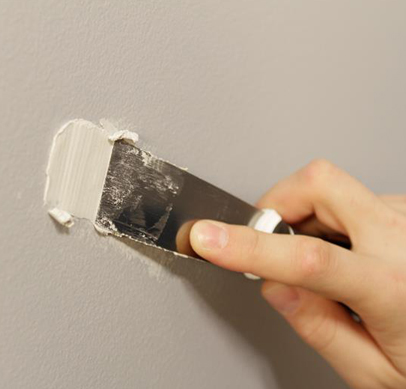
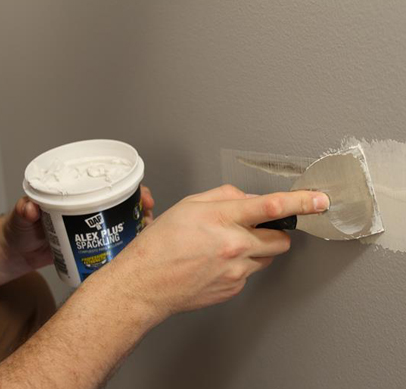
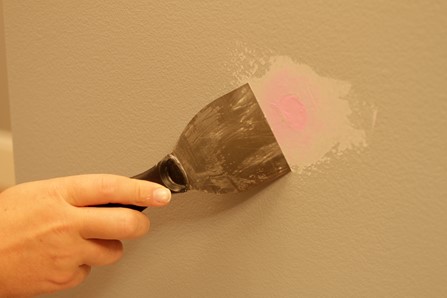
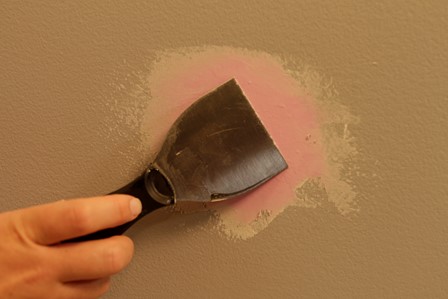
Put a small amount of spackling on a putty knife and apply it in ¼-inch layers. DAP DryDex Dry Time Indicator Spackling goes on pink and dries white. Let each layer dry before applying the next, and slightly mound the final layer. This will be sanded down when the spackling is dry.
Step 5: Smooth It Out
To give the spackling a smooth finish, wipe off the putty knife, dip it in water and lightly smooth the spackling. Let it dry. Be sure to keep your putty knife clean with water and a soft cloth.
Step 6: Sand When Dry
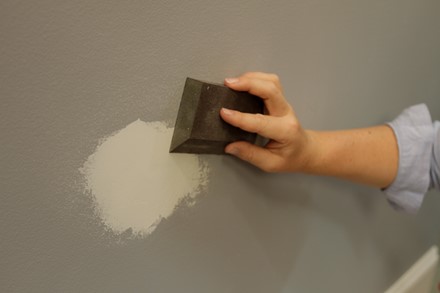
When the spackling is dry, sand it first using medium-grit sandpaper to make it flush with the surrounding drywall. Then finish with a fine-grit sandpaper to create a smooth surface. Wipe off any dust with a tack cloth, tack rag or damp sponge. Then prime and paint.
Step 7: Use a Mesh Patch When Needed
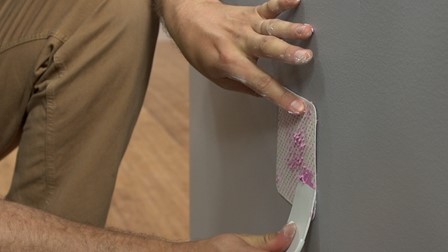
To patch holes that have gone all the way through drywall or plaster, like one made by a doorknob, use Wall Repair Patch Kit with DAP DryDex Spackling. It comes with all the necessary materials to complete the project.
Start by applying spackling to the back of the patch and place it over the hole and a little beyond; press it in place around the edges. Then apply a thin coat of DAP DryDex Spackling. Spread the spackling flat enough to see the outline of the patch through it. Either use the dry-time indicator (the spackling turns white when it’s dry) or let it dry overnight before applying a wider second coat, extending 8–12 inches beyond the patch. Be sure to feather the edges of the spackling (make it thinner at the edges). This will help hide the repair. Sand when dry and then prime or paint.
-
Recommended Products
Product Recommendations
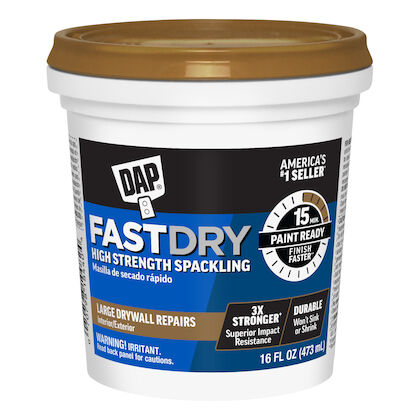
DAP Fast Dry Premium Spackling
Fast Dry Premium Spackling offer pro-grade strength with quick drying. Paintable in 15 mins. Won't sink, shrink, or crack.
View Product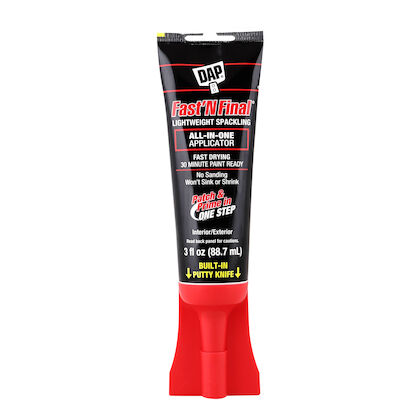
DAP Fast N Final Lightweight Spackling
Patch and prime with Lightweight Spackling in one step. No sanding or priming needed. Quick-drying, won't shrink or crack. Ideal for various surfaces.
View Product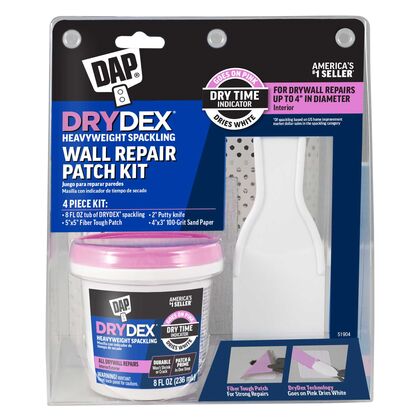
Wall Repair Patch Kit—Featuring DryDex Spackling
The Wall Repair Patch Kit featuring DRYDEX Dry Time Indicator Spackling comes with all of the tools needed to complete a wall-patching project.
View Product -
Related Projects
Related Projects
![Patch Holes Step 3 Landingimage 406X389]()
How to Patch Drywall
Follow this expert advice on how to fix a hole in drywall—no matter the size.
Read More![Step 5 Alex Plus Landingimage 406X389]()
How to Prepare Walls for Painting
Follow our plan on how to prepare interior walls for painting, and you’ll be rolling on that final coat in no time.
Read More![]()
Choosing the Right Caulk or Sealant
Use this guide to help you find the right caulk or sealant for the most common home projects.
Read More![]()
How to Caulk Like the Pros
Hone your caulking skills with these 8 tips for indoor and outdoor projects.
Read More

 USA - EN
 Canada - EN