How to Glaze a Window
Restoring wood windows (and metal ones, too) can be as easy as replacing cracked window putty. Just follow these steps.

-
How to Glaze Windows Step-by-Step
How to Glaze Windows Step-by-Step
Tools
- Glazing knife or putty knife
- Heat gun
- Needle-nosed pliers
- Caulk gun
- Safety gear (heavy duty or leather gloves, protective eyewear)
- Mineral spirits (for DAP ‘33’ Glazing)
Materials
- DAP® ‘33’® Glazing or DAP® Latex Window Glazing
- Oil-based primer
- Glazing points (for wood windows)
- Spring clips (for metal windows)
- Paint
Glazing—the putty-like substance that surrounds glass on the outside of windows—seals the gap where glass meets the frame. Used on wood or metal windows, it’s critical for blocking air leaks and making your home quieter. But over time, it can deteriorate, crack, chip or even break off. When that happens, it’s a pretty easy fix. With just a few tools and window glazing products, you can protect your windows and keep your home comfortable.
Step 1: Choose the Glazing Compound
There are two types you can use:
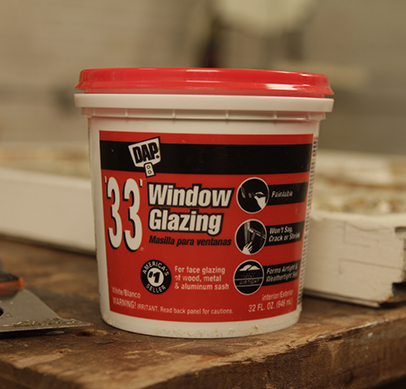
- Oil-based glazing compounds are typically applied with a glazing knife. They have a long working time but also take longer to dry/cure (fully solidify and stabilize). They must be painted over with an oil-based paint (or oil-based primer) but only after they are fully dried, which can take several weeks. DAP ‘33’ Glazing is a ready-to-use oil-based glazing compound. It’s durable and easy to apply and tool. Use it on wood or metal sashes for an airtight, watertight seal that resists sagging, shrinking, chalking and cracking. Clean it up with mineral spirits.
- Latex-based glazing compounds can be left unpainted, or you can paint them with either latex- or oil-based paint after they are fully dry (it takes about three days if you’re painting with latex paint and seven days with oil-based paint). DAP Latex Window Glazing can be used to glaze glass in wood or metal window frames. Its built-in spout allows for a smooth, easy application. Plus, it adheres tightly to both glass and sash; resists sagging, cracking, shrinking and chalking; and cleans up with water.
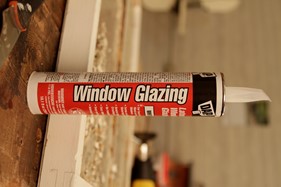
Step 2: Remove the Old Glazing
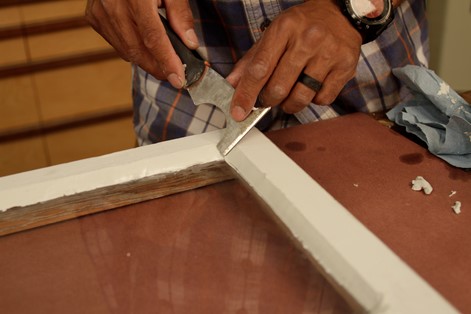
If you’re reglazing an existing window, remove the sash so you can lay it flat. Clamp it to a workbench and use a putty knife to remove any loose old glazing. Use a heat gun to loosen any glazing that the putty knife can’t release. Wear leather gloves and protective eyewear. Holding the heat gun in one hand and a putty knife in the other, heat the putty to soften it and then scrape it out. Keep the heat gun moving to avoid concentrating all the heat in one spot and damaging the glass or window frame. If your heat gun doesn’t have a heat shield attachment, protect the glass with a scrap of sheet metal.

Step 3: Remove Old Window Glazing Points or Spring Clips
The small pieces of metal that hold the glass in place, called glazing points (on wood windows) or spring clips (on metal windows), should be removed. Slip a putty knife underneath each point and pry up slightly. Pull them out with needle nose pliers. Wearing gloves, carefully remove the glass, clean it and set it aside.
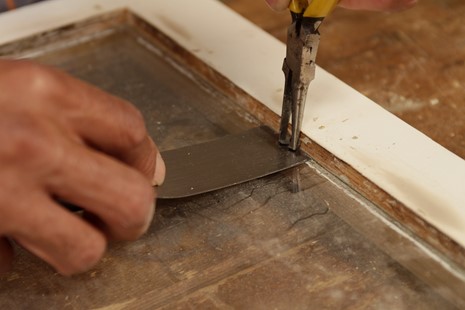
Step 4: Prime the Sash
Prime a wood sash with an oil-based primer, including the area to be glazed and let it dry.
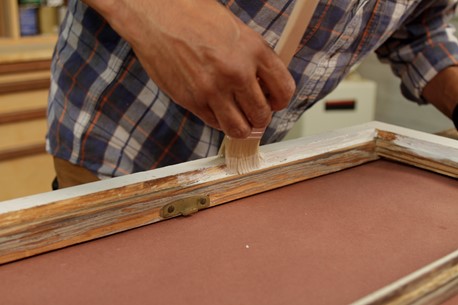
Step 5: Apply a Back Bedding
Apply 1/8 inch of the glazing compound to the backstop of the sash, where the glass is to be set. Called a “back bedding,” it keeps the glass from coming into contact with the sash.

BONUS TIP: If you’re using an oil-based glazing compound, it should be at room temperature. Empty the can onto a clean surface and knead it as you would bread dough.
Step 6: Install New Glazing Points or Spring Clips
Place them every 8 inches or so. Use a putty knife to gently press the glazing points into the wood. Just be careful that you don’t put pressure on the glass or bend the points. Push spring clips into place with a putty knife or screwdriver.
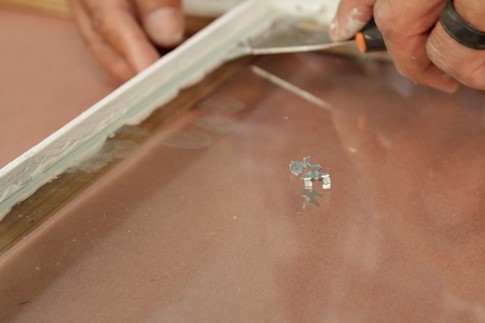
Step 7: Apply New Glazing Compound
- DAP ‘33’ Glazing: Shape a small amount of the glazing into an 8-inch rope that’s thick enough to fill the L-shaped joint. Press it in place. Then dip a putty knife in mineral spirits and smooth the glazing at an angle that sheds water. Glaze the corners to a rounded finish and use the glazing knife to remove any excess compound. Clean any residue on the glass with mineral spirits before the compound starts to set.
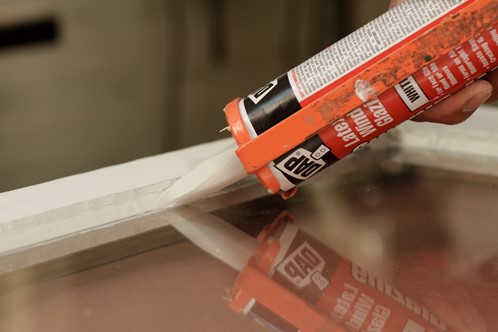
- DAP Latex Window Glazing: Gun a bead along the joint. To tool the bead at an angle that sheds water, use the angled tip of the cartridge or a glazing knife. Create rounded corners. Wipe off any excess with a damp rag.
Step 8: Paint if Necessary or Desired
- DAP ‘33’ Glazing: After the glazing has attained a firm set (in as little as seven days after application but more likely in two to three weeks), paint with an oil-based paint (or oil-based primer and latex topcoat). To test if it’s ready for painting, touch the surface lightly with a finger. If it doesn’t leave a fingerprint, it’s ready.
- DAP Latex Window Glazing: It doesn’t need to be painted, but if you want to paint it, you must wait until it’s completely dried. Latex paint can be applied after three days; oil-based paint can be applied after seven days.

-
Recommended Products
Product Recommendations
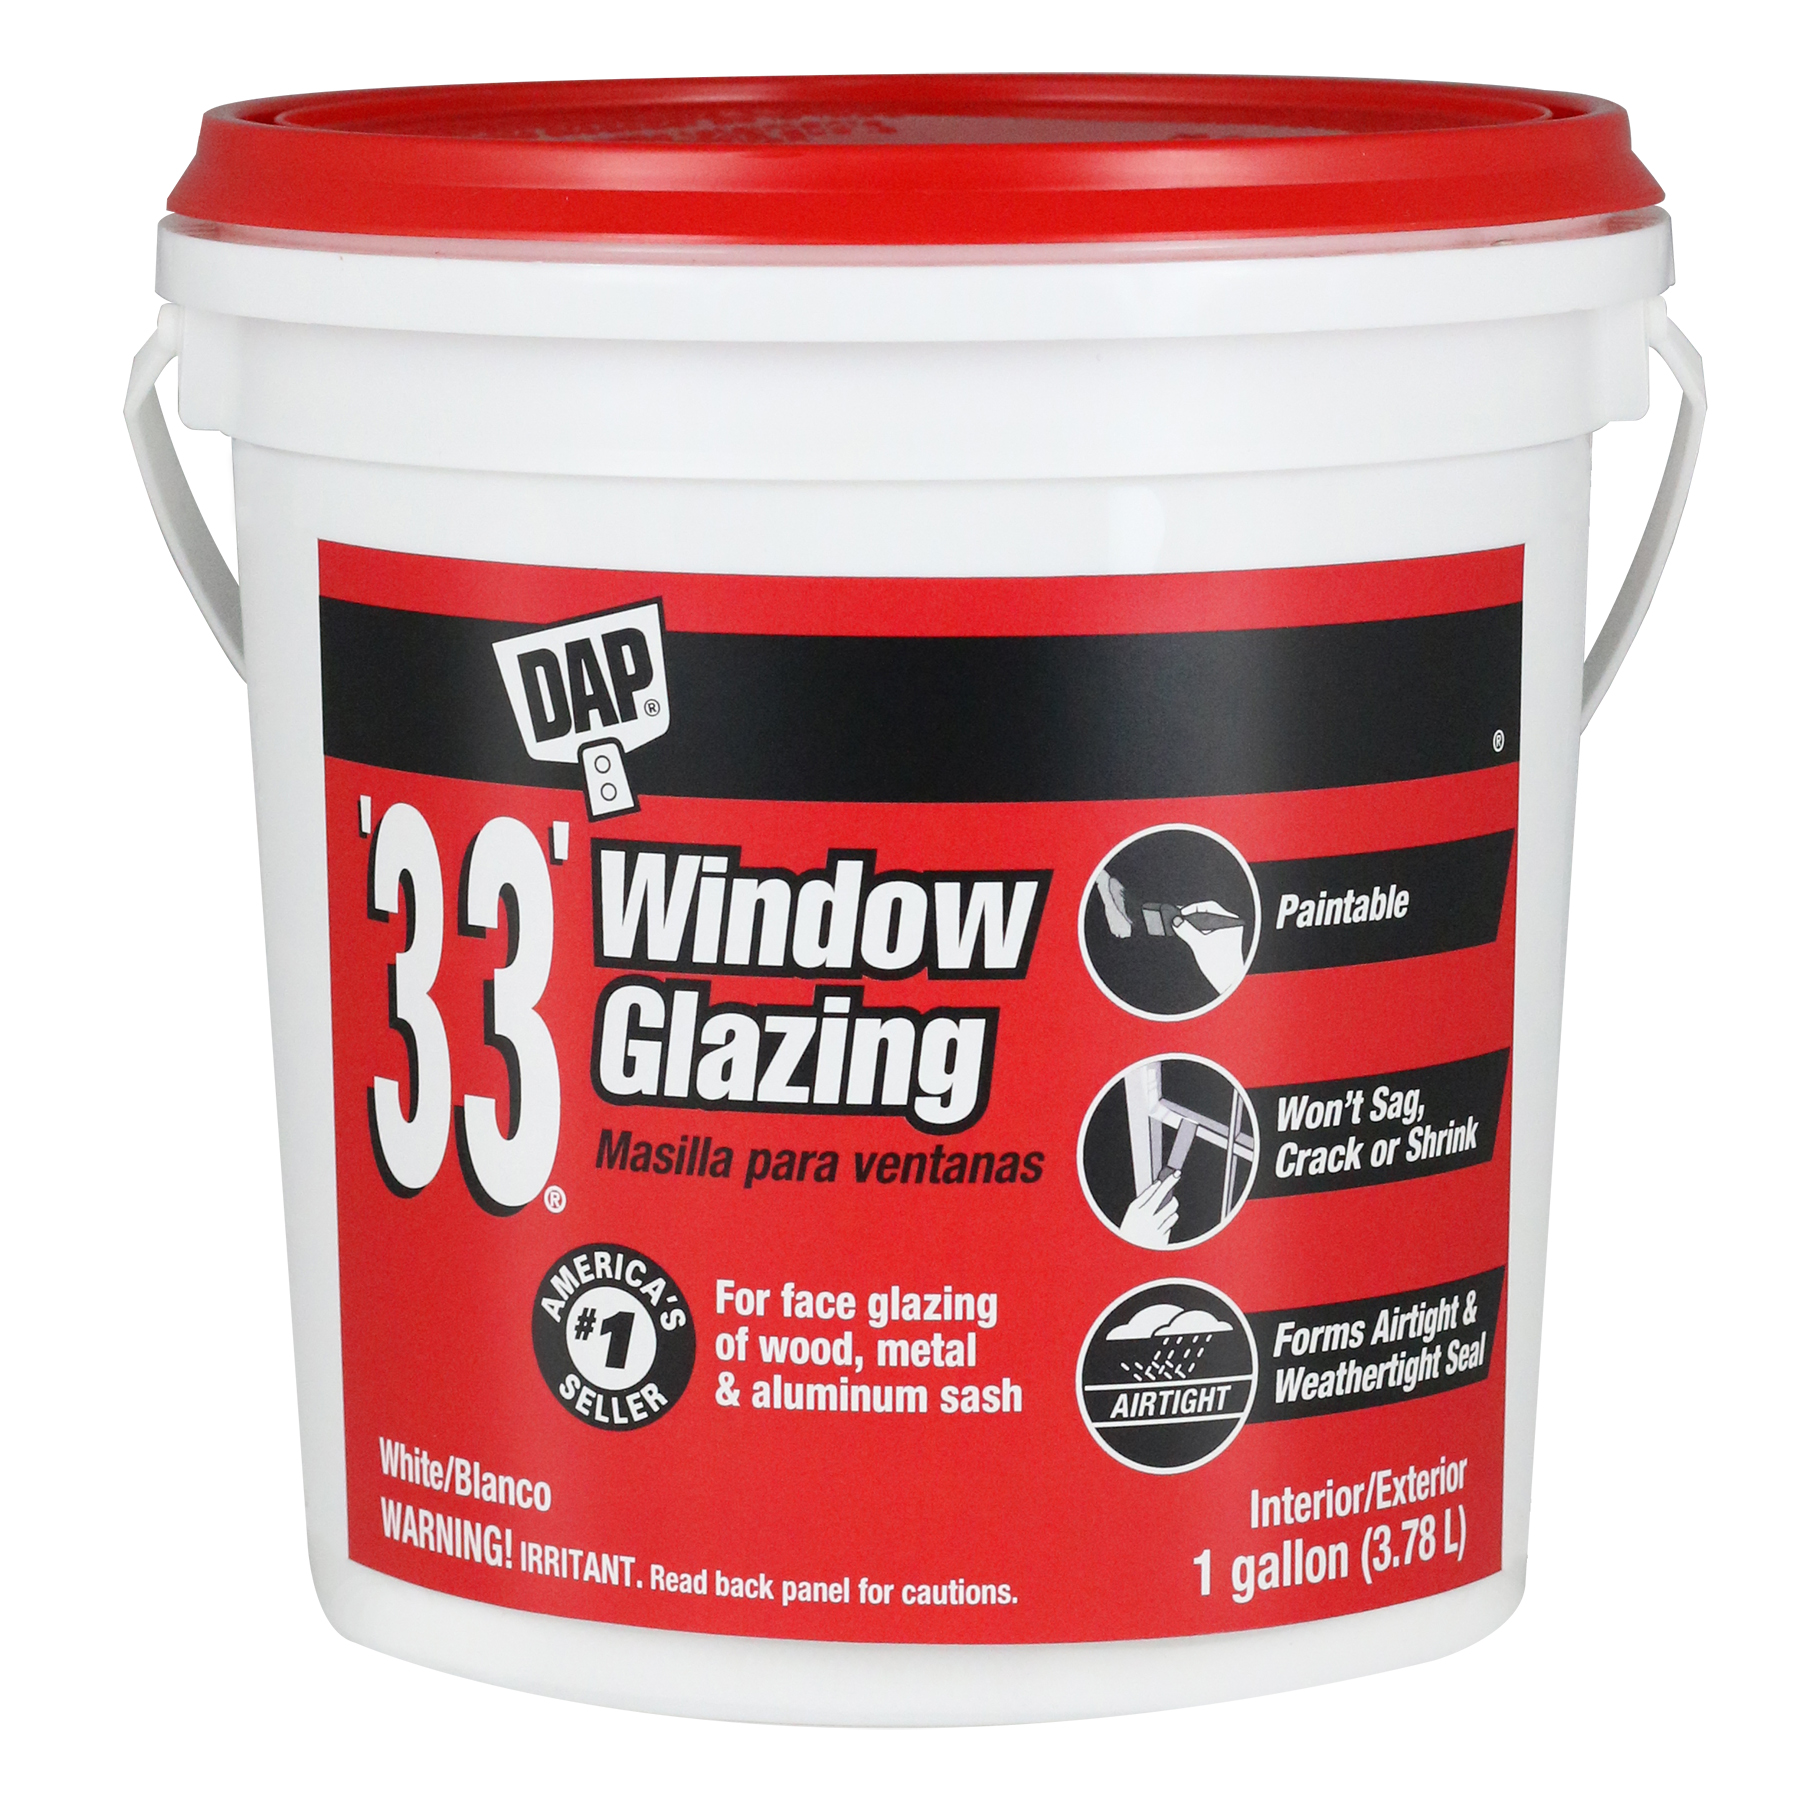
DAP Window Glazing Multi-Surface
Flawless window glazing with DAP Multi-Surface Glazing Compound. Knife-grade consistency ensures easy, smooth application. Ideal for wood or metal sash. Interior/exterior use.
View Product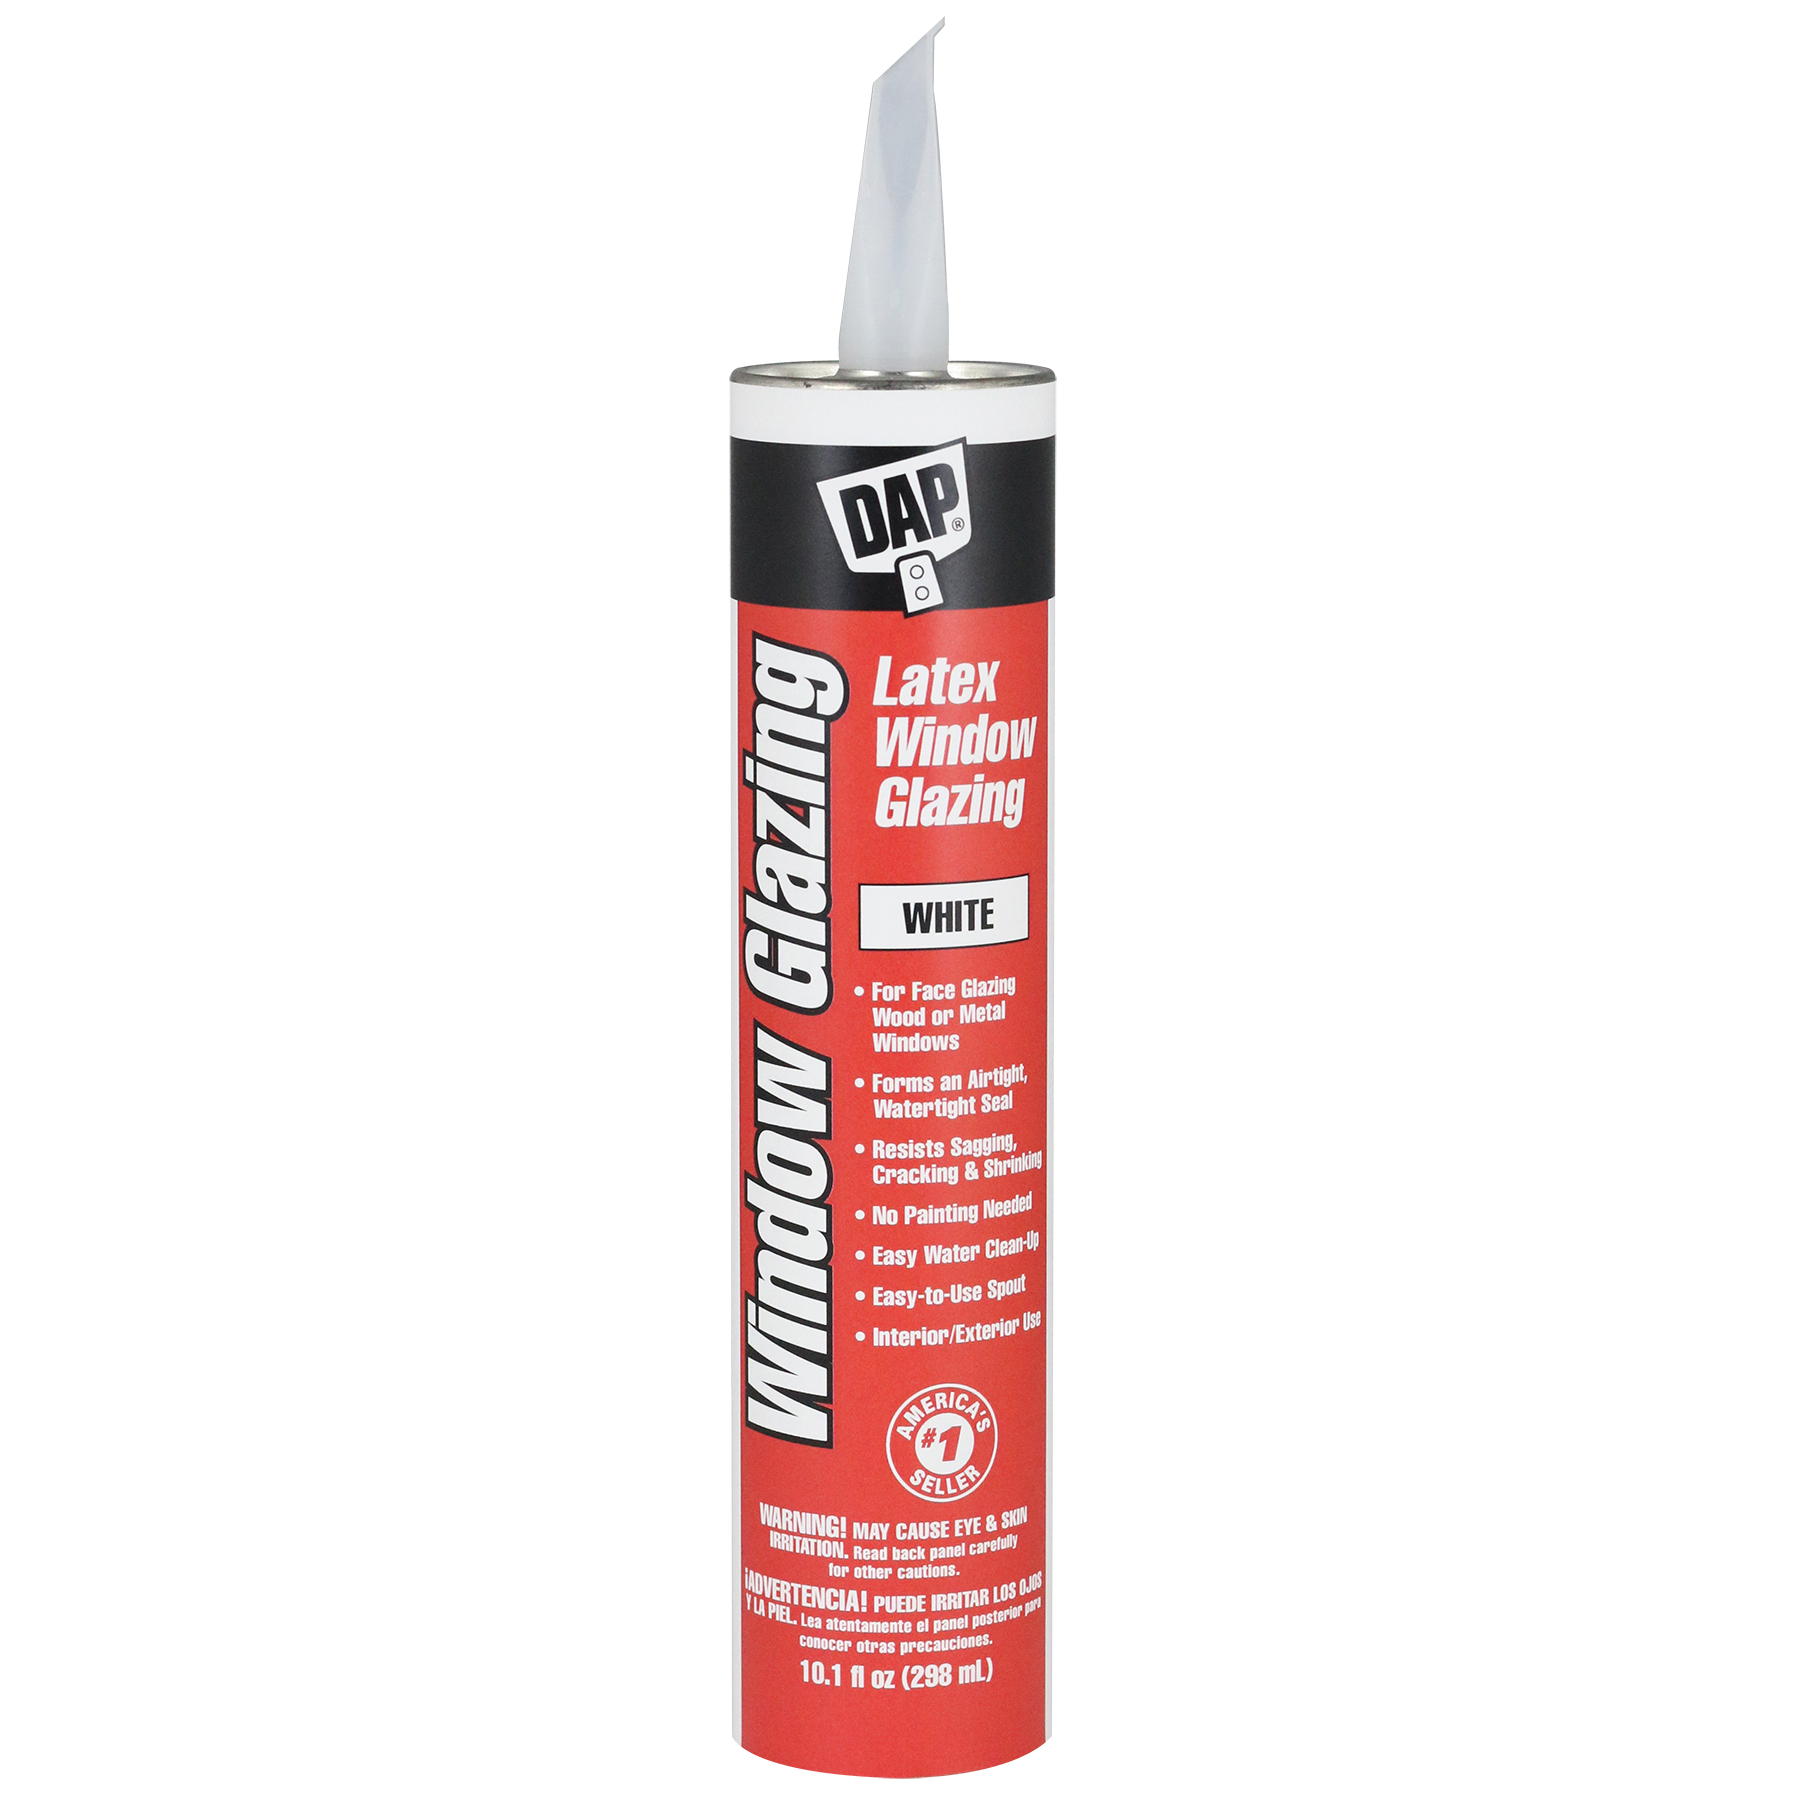
Latex Window Glazing
A ready-to-use latex based glazing compound ideal for face glazing single pane glass in wood, metal, or aluminum window frames.
View Product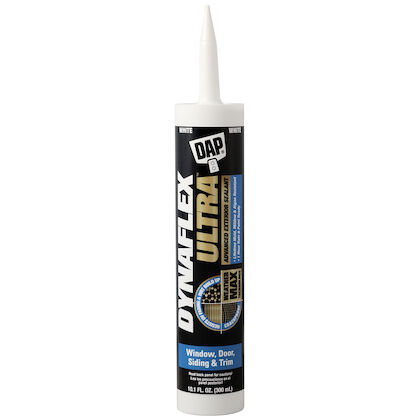
DAP Dynaflex Ultra Exterior Sealant
DAP Dynaflex Ultra Exterior Sealant uses Weather Max Technology for all-weather protection, resisting UV, mold, mildew, and offering a waterproof seal.
View Product -
Related Projects
Related Projects
![no warp foam]()
How to Seal and Insulate a Window and Door
Prevent air leaks and help your home be more energy efficient and comfortable with this step-by-step project.
Read More![home seal]()
How to Winterize Your Home
Ready for that cold snap? Here’s how to make your home more comfortable and energy efficient—and maybe even save you some money.
Read More![]()
How to Fix a Leaky Roof
Here are three ways to identify and repair roof leaks quickly to prevent further damage.
Read More![]()
How to Fix a Leaky Gutter
Try these quick techniques to solve common leaks before they create bigger problems.
Read More

 USA - EN
 Canada - EN
