How to Repair Vinyl Siding
Fix holes easily and quickly using one of these two methods.

-
How to Repair Vinyl Siding Step-by-Step
How to Repair Vinyl Siding Step-by-Step
Tools
- Plastic putty knife
- 100-grit sandpaper
- 220-grit sandpaper
- Damp rag
- Paintbrush
- Backer material
- Nails or screws
When a hole appears in vinyl siding, don’t ignore it. Water can sneak behind the siding, possibly causing extensive damage. You could replace the entire panel that has the hole. But if you don’t have spare panels on hand, finding one that matches your existing siding can be a challenge. Luckily, there’s another way to make a vinyl siding repair using high-quality patching material. Use one of these two methods, depending on the size of the hole.
Small Holes (up to 1-inch diameter)
Step 1: Smooth the Edges
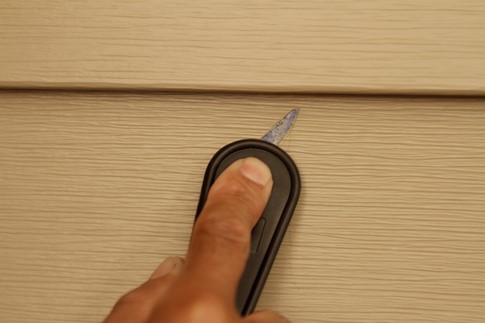
Use the handle of a putty knife to gently knock down any roughness around the hole.
Step 2: De-gloss the Area
Using 220-grit sandpaper, lightly de-gloss a small area around the hole. This helps the filler adhere properly.
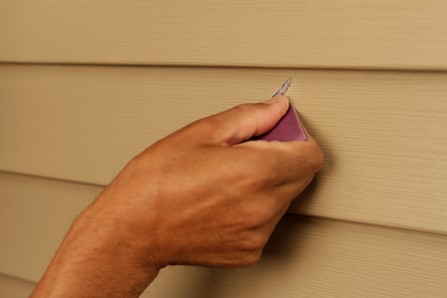
Step 3: Clean the Surface
After de-glossing, wipe the surface clean and make sure it’s free of any dust or foreign material.
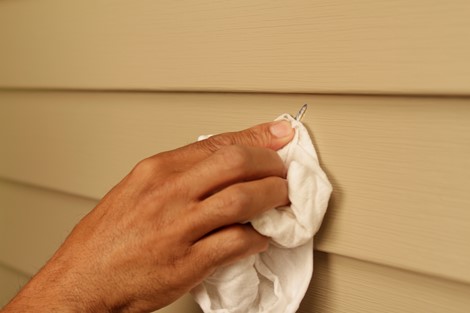
Step 4: Apply Patching Material
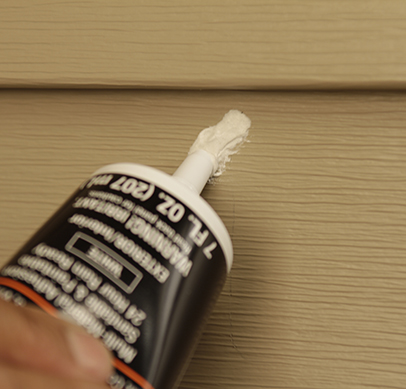
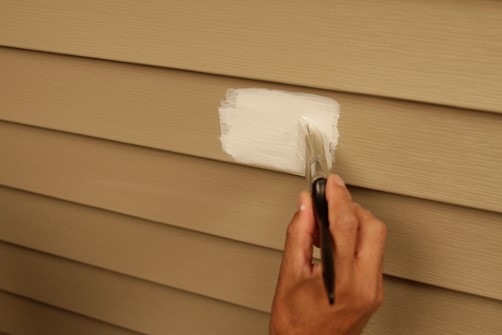
Fill the hole with DAP Platinum Patch Advanced Exterior Filler. It’s weatherproof, waterproof, mold- and mildew-resistant, and rain-ready in 24 hours. The tube version of the filler is especially convenient for patching small holes: Simply place the tip of the tube into the hole and squeeze. If the hole is more than ¼ inch deep, apply the filler in two thin layers, letting the first layer dry before applying the second. Apply enough filler so that the hole is slightly overfilled. (Use DAP Platinum Patch Advanced Exterior Filler in a tub for a large number of repairs or for larger holes. See “Large Holes” below for directions.)
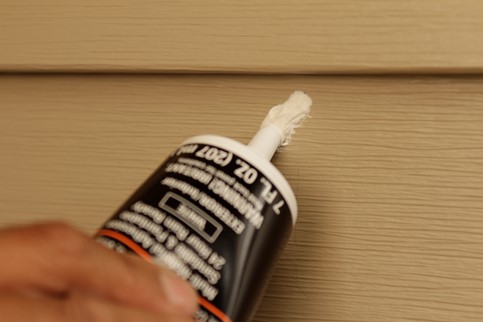
Step 5: Smooth the Filler
Dip a plastic putty knife (plastic is better than metal, which could damage the siding) in water and lightly smooth the filler so that it’s level with the surface of the siding.
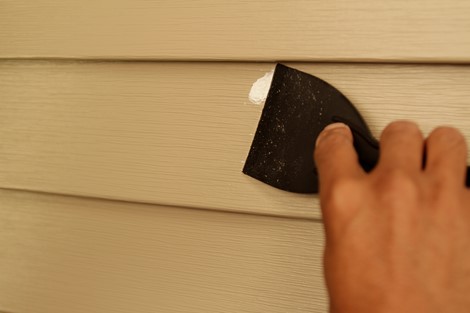
Step 6: Let Dry, Then Sand
Let the patching material dry for two to four hours. Then lightly sand the patched area, starting with 100-grit sandpaper and finishing with 220-grit sandpaper. Be careful that you don’t damage the surrounding vinyl.
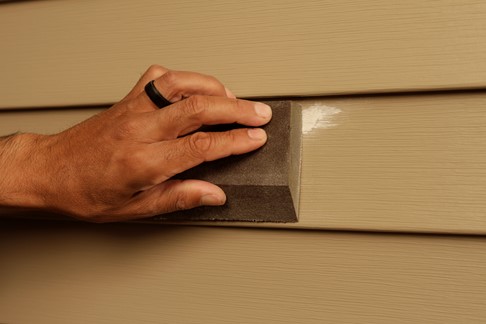
Step 7: Prime the Patched Area
Clean the surface with a damp cloth. Then prime it with Zinsser Bulls Eye 1-2-3 Primer to seal the patch. When dry, paint the patched area to match the siding. Make sure the paint you use is appropriate for vinyl siding.
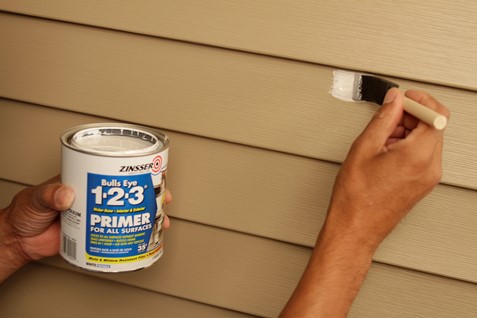
Large Holes (up to 2-inch diameter)
Step 1: Use Backer Material
Larger holes require that a backer material (a thin wood strip or scrap of vinyl siding) be used, to give the patch a stable surface to adhere to. Insert the backer material into the hole and behind the siding. Glue it in place with DAP Dynagrip Heavy Duty MAX Construction Adhesive and then secure it to the sheathing behind the siding with nails or screws.
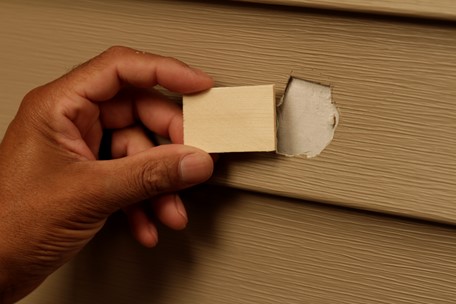
Step 2: Apply Filler
Use DAP Platinum Patch Advanced Exterior Filler. Stir it first, then apply it with a plastic putty knife. If the hole is more than ¼ inch deep, apply the filler in two thin layers, letting the first one dry before applying the second one. Overfill the repair area slightly.
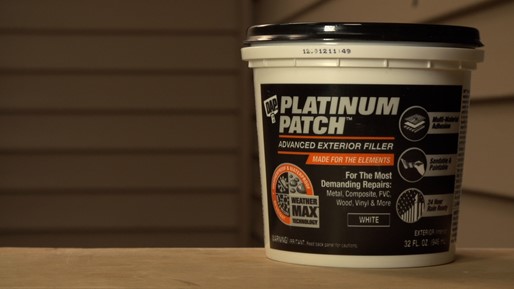

Step 3: Smooth, Dry and Prime
Dip the putty knife in water and then lightly smooth the filler. When it’s dry, lightly sand the patched area, starting with 100-grit sandpaper and finishing with 220-grit sandpaper. Prime the patched area with Zinsser Bulls Eye 1-2-3 Primer. Paint the area to match the siding, making sure the paint you use is appropriate for vinyl.
-
Recommended Products
Product Recommendations
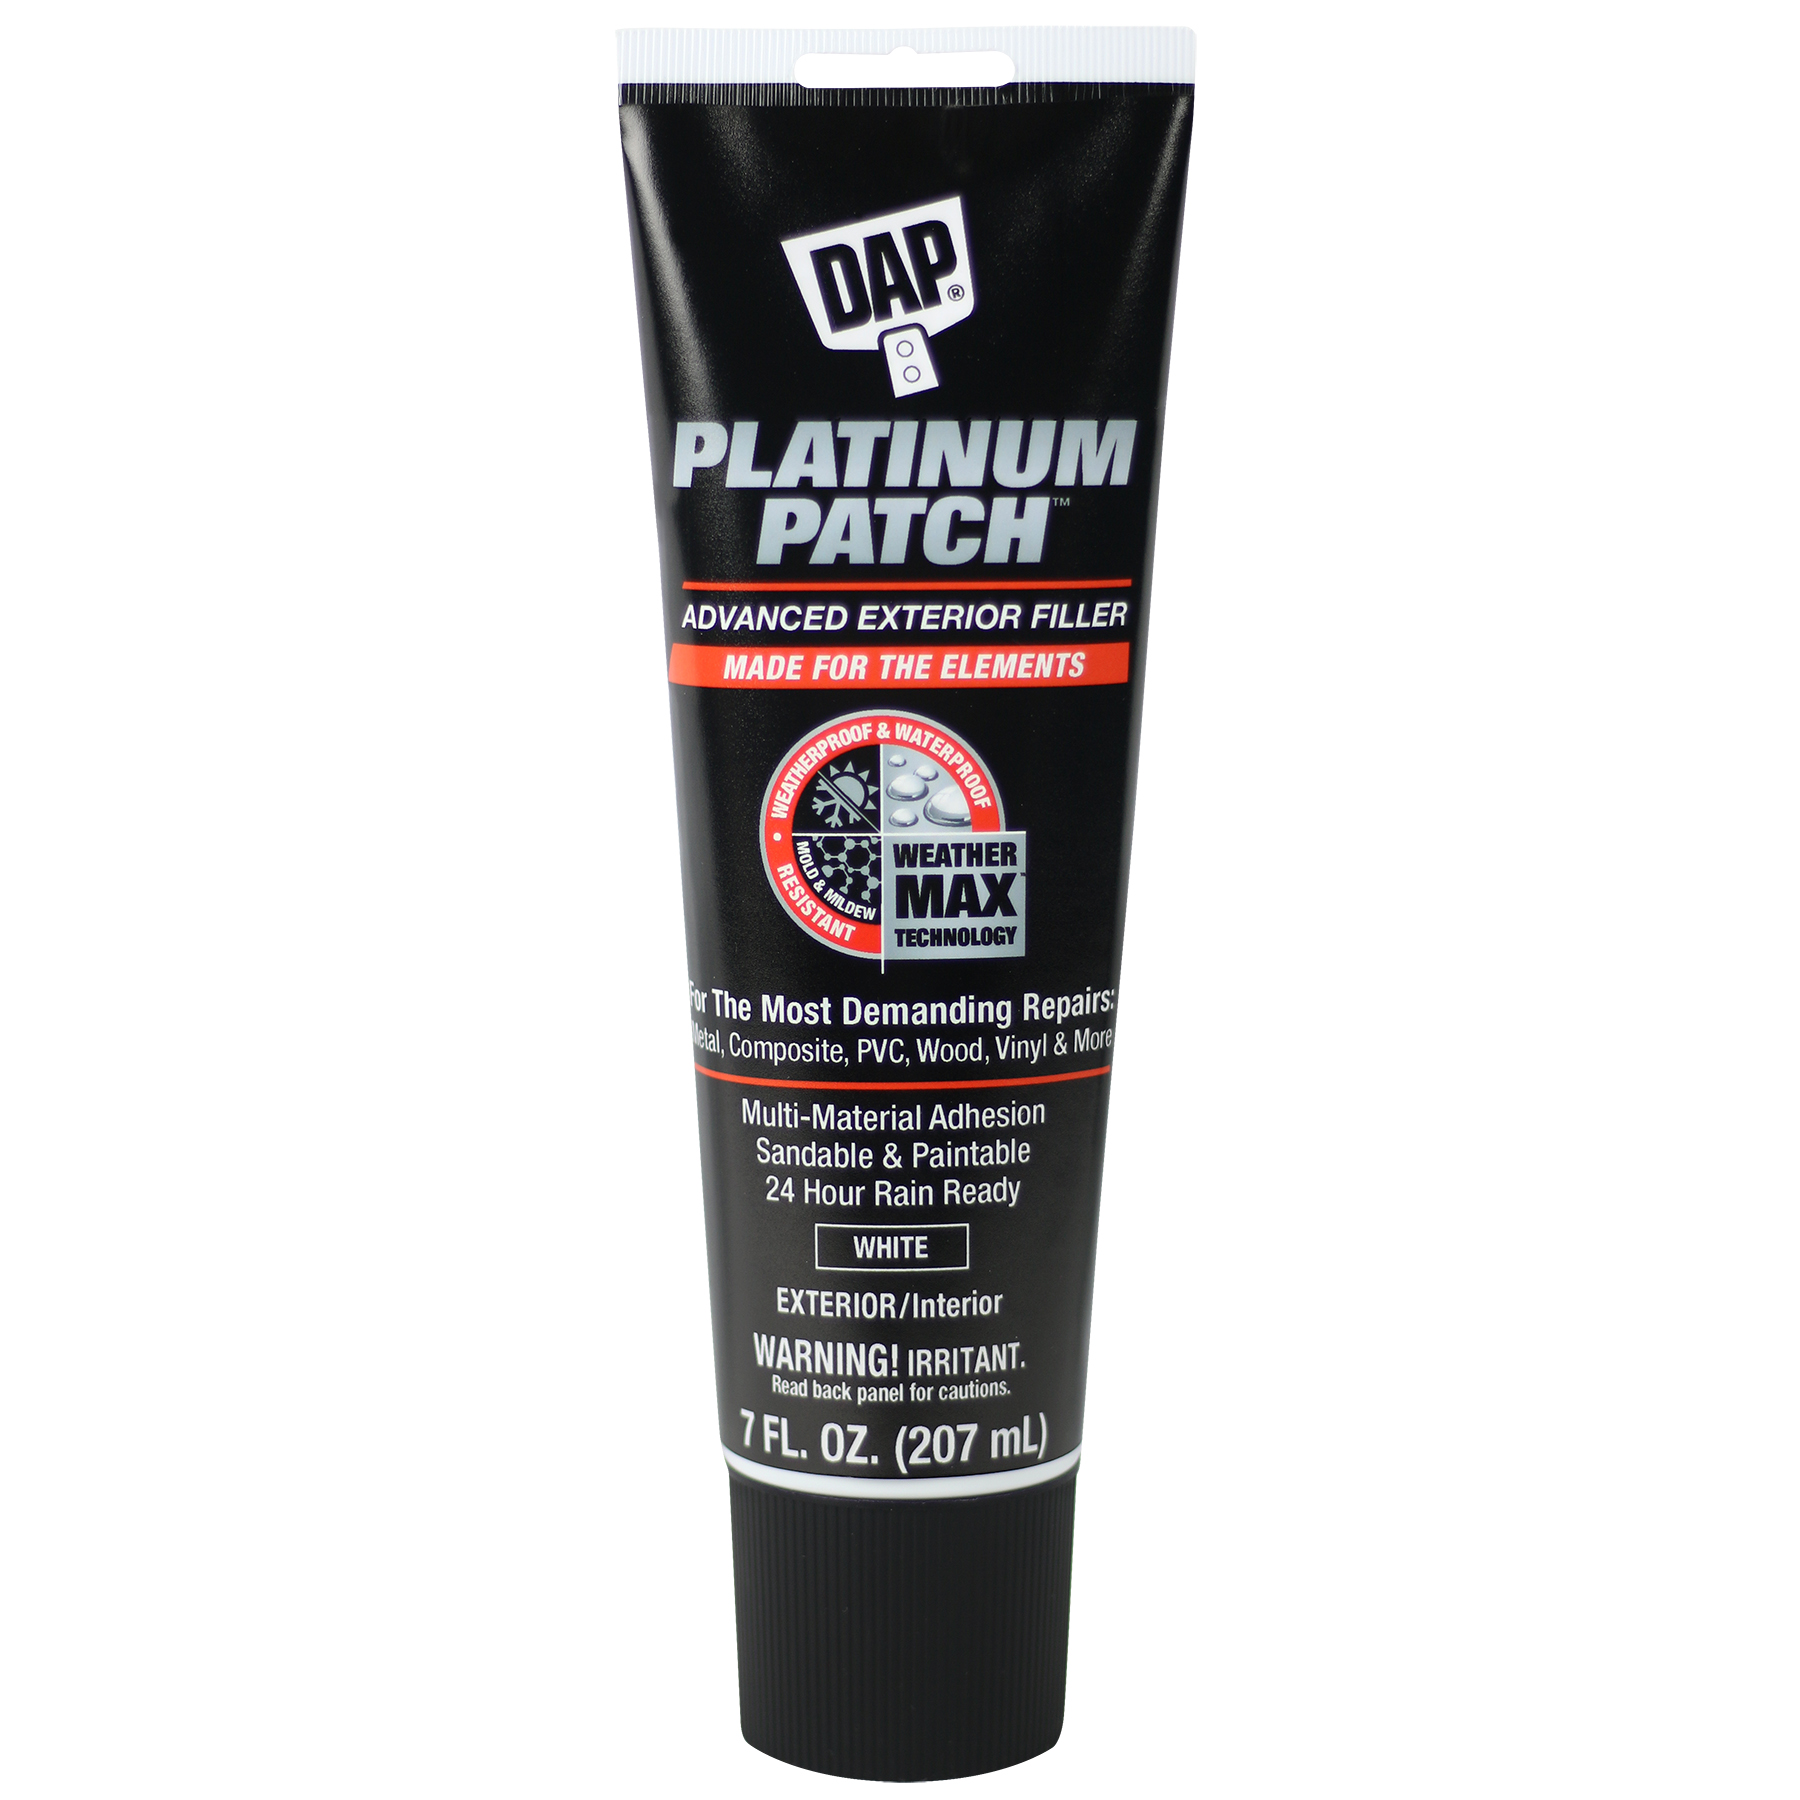
Weatherproof Patching Compound
Weatherproof Patching Compound is formulated with innovative WEATHER MAX Technology for long-lasting, all weather protection.
View Product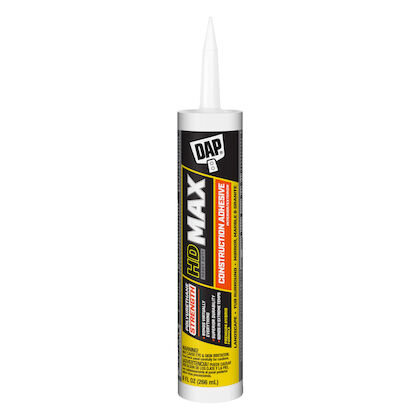
DAP® HD Max Construction Adhesive
DAP HD Max Construction Adhesive is a high-performance, premium moisture-curing adhesive that bonds in extreme temperatures.
View Product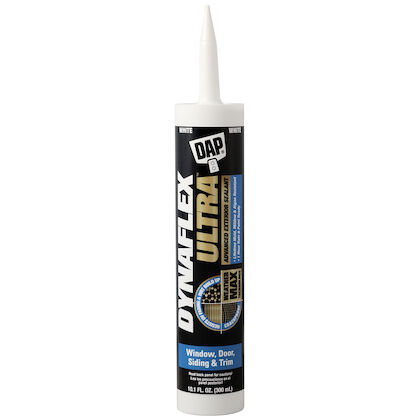
DAP Dynaflex Ultra Exterior Sealant
DAP Dynaflex Ultra Exterior Sealant uses Weather Max Technology for all-weather protection, resisting UV, mold, mildew, and offering a waterproof seal.
View Product -
Related Projects
Related Projects
![]()
How to Fix Cracks, Crumbles, and Breaks in Concrete
Use one of these two methods to fix cracks before they become major repairs.
Read More![Patch Holes Step 3 Landingimage 406X389]()
How to Patch Drywall
Follow this expert advice on how to fix a hole in drywall—no matter the size.
Read More![]()
How to Patch Stucco
Follow this easy fix for stucco holes and cracks before they become major headaches.
Read More![]()
How to Glaze Windows
Restoring wood windows (and metal ones, too) can be as easy as replacing cracked window putty. Just follow these steps.
Read More

 USA - EN
 Canada - EN
